

Best Stamp Ink Pads for Cardmakers and Crafters
If you want a quick answer, here it is. These are the best stamp ink pads organized by what you actually need them for:
- Best for crisp detail work: A dye-based archival ink pad (such as a black or dark color in an archival line) gives you sharp, clean edges on fine-line stamps and dries fast enough to layer without smearing.
- Best for heat embossing: A watermark/embossing pad like Versamark is the go-to choice. Its sticky, slow-drying formula grabs embossing powder evenly and releases cleanly.
- Best all-purpose for cardmaking: A pigment ink pad in a rich, opaque color covers both solid images and fine detail, works on cardstock and vellum, and pairs well with heat setting.
- Best for mixed media and watercolor layering: An archival, waterproof black dye pad lets you stamp outlines that won’t bleed when you brush watercolor or alcohol markers over them.
- Best for decorative stampers and embossers: Pigment or dye pads in coordinating colors pair beautifully with ornamental stampers like the Extra Ornamental Stamper or Embosser from Invitationbox, where detail retention and even ink coverage matter most.
Key Takeaways
The best stamp ink pad for your project depends on matching ink chemistry to your technique and surface.
| Point | Details |
|---|---|
| Match ink type to technique | Use archival dye for crisp outlines, pigment for embossing and opaque color, Versamark for heat embossing. |
| Store pads away from heat and light | Cool, dry storage away from windows and heaters preserves ink chemistry and color vibrancy. |
| Re-ink before replacing | Add drops slowly, rest the pad face-down for 15–30 minutes, then test on scrap paper before using. |
| Start with a three-pad kit | One archival black, one pigment accent color, and one embossing pad covers most cardmaking needs for $20–$35. |
| Invitationbox stampers pair with craft pads | Ornamental and scroll stampers from Invitationbox work best with craft-grade pigment or archival dye pads on paper. |
Table of Contents
- What are the best stamp ink pads, and how do the ink types differ?
- Top ink pads and when to pick them
- How to choose the right ink pad for your stamping project
- How to care for your ink pads so they last
- Practical tips for getting crisp, clean impressions every time
- Top recommended brands and model comparisons
- What should you expect to pay for quality ink pads?
- Where can you buy stamp ink pads?
- What the right ink pad kit actually looks like
- Invitationbox stampers that pair perfectly with your ink pads
- Sources
What are the best stamp ink pads, and how do the ink types differ?
The ink inside a pad is not just “ink.” The chemistry determines everything: how fast it dries, whether it bleeds on porous paper, and whether it can hold embossing powder. Dye inks dry fast and soak into paper; pigment inks dry slower and sit on the surface, making them better for opaque colors and embossing; embossing/Versamark inks are sticky and ideal for embossing powders.
Here is a plain breakdown of each ink family:
- Dye ink: Water-based, fast-drying, and absorbed into paper fibers. Produces vivid, transparent color. Great for quick cardmaking and layering techniques. Not waterproof unless labeled archival.
- Pigment ink: Sits on top of the paper surface. Dries slowly (needs heat setting on glossy or coated stock). Produces rich, opaque color including metallics and whites. Excellent for embossing because it stays wet long enough to hold powder.
- Watermark/embossing ink (Versamark-style): Nearly clear or lightly tinted, ultra-sticky, very slow drying. Designed specifically to hold embossing powder. Also creates a tone-on-tone watermark effect on cardstock.
- Solvent/hybrid ink: Fast-drying on non-porous surfaces like wood, metal, glass, and fabric. Stronger odor. Not ideal for paper-only projects but useful for mixed-media work.
- Specialty inks: Opaque white pigment pads for stamping on dark cardstock; metallic pigment pads for gold, silver, and copper accents.
Top ink pads and when to pick them
Hands-on comparisons show craft-grade pigment pads tend to retain design detail and provide even coverage compared with basic office dye pads, which can be runnier and may blur fine details. That gap matters most when you are stamping intricate ornamental designs or fine script.
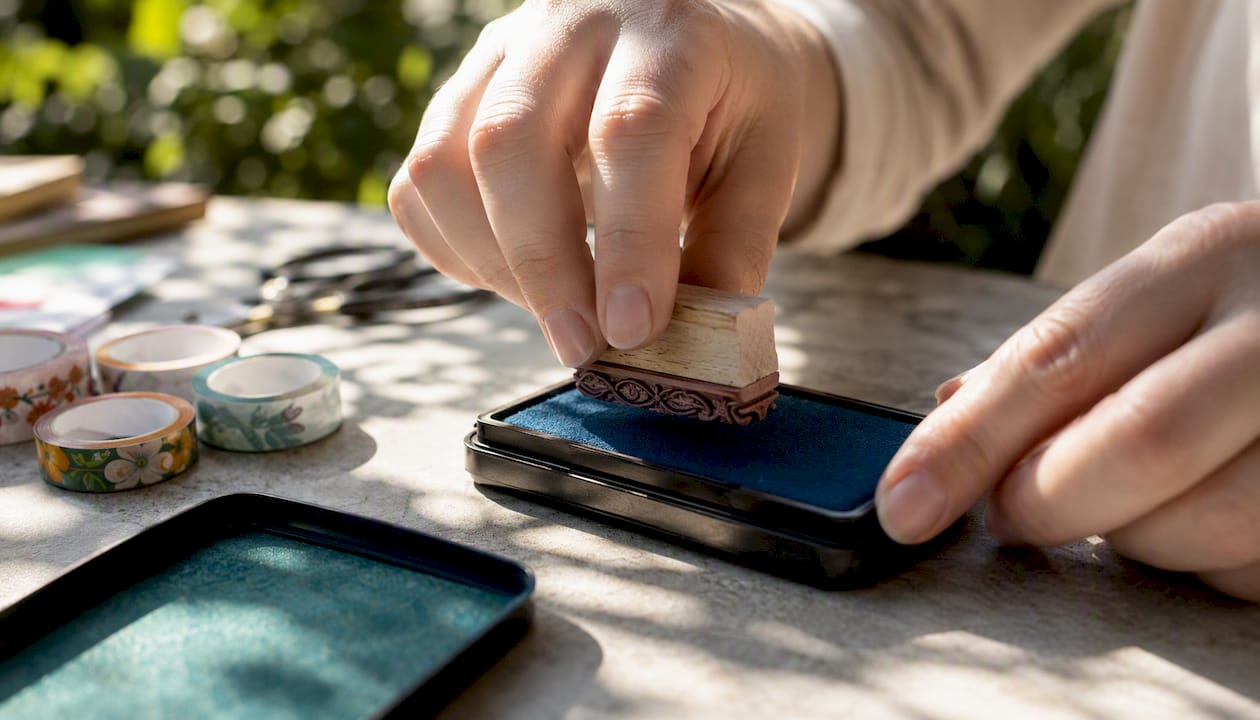
Archival dye pads are the workhorse of any cardmaker’s kit. They dry in seconds on smooth cardstock, resist water once dry, and produce crisp outlines that hold up under watercolor washes. The limitation: they are not ideal for heat embossing because they dry before powder can adhere.
Craft pigment pads shine when you need rich, opaque color or plan to emboss. They stay wet long enough to pick up embossing powder, and the color payoff on white or light cardstock is noticeably deeper than a standard dye pad. The trade-off is patience: on uncoated cardstock, they can take several minutes to air-dry fully.
Versamark-style embossing pads do one thing exceptionally well. Press your stamp into the pad, stamp onto cardstock, pour embossing powder over the wet impression, tap off the excess, and heat. The result is a raised, glossy design that no dye or standard pigment pad can replicate. Keep one in your kit even if you only emboss occasionally.
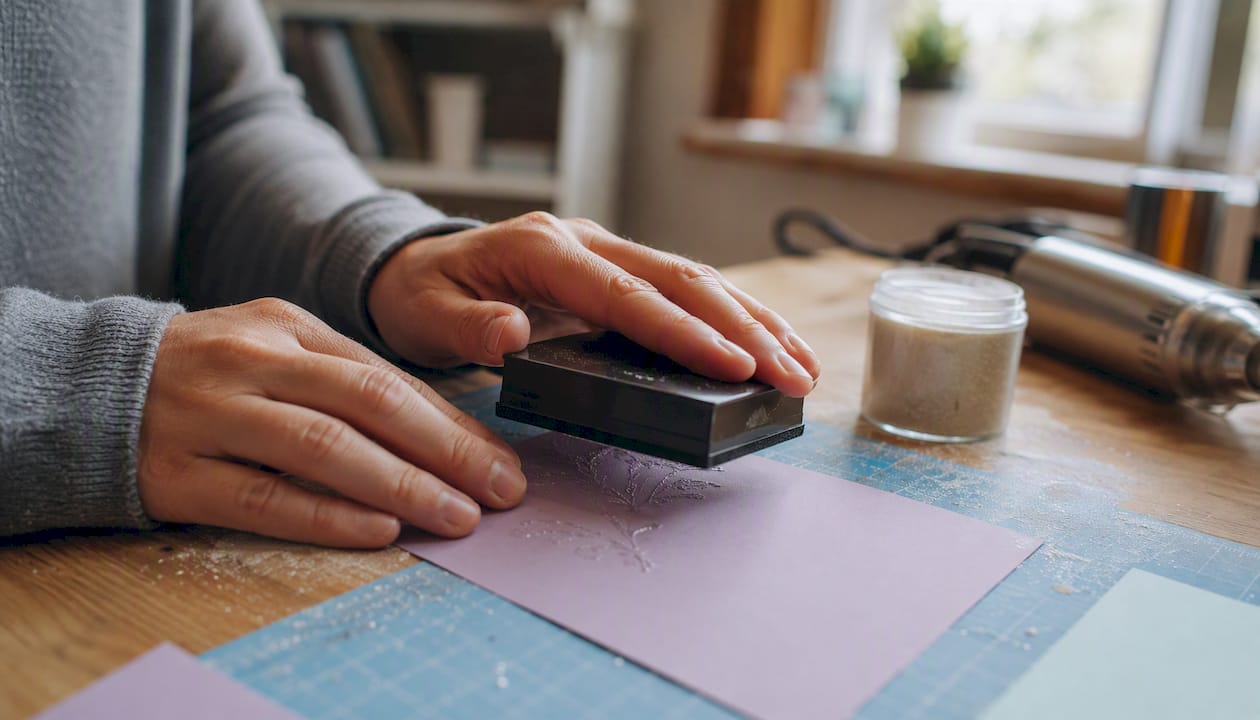
Specialty pigment pads (white, gold, silver) fill the gap when you want to stamp on dark kraft paper, black cardstock, or colored envelopes. A white pigment pad paired with a bold motif stamp creates a striking contrast that dye inks simply cannot achieve on dark surfaces.
Buying quick facts:
- Mini/cat’s-eye pads are generally affordable and are ideal for testing colors or inking small accent stamps.
- Full-size pads vary in price depending on brand and ink line, with moderate price ranges typical for craft supplies.
- Re-inkers (small bottles of matching ink) are available for most craft-grade lines and generally cost a few dollars each.
- Online retailers and craft chain stores both carry the major lines; online gives you access to specialty colors and re-inkers that brick-and-mortar stores may not stock.
Invitationbox product fit: Ornamental and scroll-style stampers like the Corner Scrolls Square Stamper or Embosser and the Classic Scroll Square Stamper or Embosser pair well with pigment or archival dye pads. Their detailed linework benefits from the even coverage and crisp edge retention that craft-grade pads deliver.
How to choose the right ink pad for your stamping project
The right pad comes down to four questions: What surface are you stamping on? How fast do you need it to dry? Will you emboss or layer with wet media? And does the manufacturer offer a re-inker?
A practical selection checklist:
- Drying-time test: Press the inked stamp onto a scrap of your actual project cardstock. Time how long it takes to dry without smearing. Fast-drying dye pads suit assembly-line cardmaking; slow-drying pigment pads suit embossing.
- Detail test: Stamp a fine-line or script design. Check under good light for blurring or ink spread. Crisp edges signal a well-formulated pad; fuzzy edges on a new pad are a red flag.
- Smudge and water test: Once dry, lightly drag a damp finger across the stamped image. Archival and solvent inks resist smearing; standard dye inks may lift slightly.
- Opacity test: Stamp on both white and a mid-tone colored cardstock. Pigment pads show true color on both; dye pads look washed out on darker stock.
Questions to ask before buying:
- Does the brand sell a matching re-inker? A pad without a re-inker option is disposable, which adds up over time.
- What is the pad size? A full-size pad covers large background stamps; a mini pad wastes ink on large coverage.
- Is it acid-free? Acid-free, archival-quality ink matters for scrapbook pages and keepsake cards you want to last.
Red flags to avoid:
- No re-inker listed anywhere on the product page or packaging.
- Manufacturer does not specify surface compatibility.
- Strong chemical odor on a pad marketed for paper use (solvent inks belong on non-porous surfaces, not everyday cardstock projects).
- Extremely low price with no brand name — these often use thin, runny dye that bleeds on most cardstocks.
How to care for your ink pads so they last
A well-maintained pad can last years. Neglect it for a few months and you may find a dried-out, cracked foam that no amount of re-inking will fully restore.
Lifespan at a glance: Light hobby use (a few stamps per week) with proper storage can keep a quality pad usable for two to three years before re-inking becomes necessary. Frequent use shortens that window, but re-inking extends it almost indefinitely as long as the foam stays intact.
Re-inking step by step:
- Open the pad and hold the re-inker bottle directly over the foam surface.
- Add drops slowly across the entire surface — three to five drops for a mini pad, eight to twelve for a full-size pad.
- Close the lid and let the pad rest face-down for 15–30 minutes so ink distributes evenly through the foam.
- Stamp a test impression on scrap paper before using on a project. If coverage is uneven, add two more drops and rest again.
Storage do’s and don’ts:
- Do store ink pads in a cool, dry place away from direct sunlight and avoid temperature fluctuations near windows or heaters, which can alter drying time and color vibrancy.
- Do store most dye pads horizontally, foam side up, so ink stays evenly distributed. Some pigment pads can be stored upside down to keep ink near the top surface — check the manufacturer’s guidance for your specific line.
- Do keep lids snapped shut between uses. Even a few hours of exposure to air dries out the foam edges.
- Don’t store pads in a garage, car, or near a heating vent. Temperature swings are the fastest way to ruin ink chemistry.
- Don’t stack heavy objects on top of pads — compressed foam loses its ability to hold and release ink evenly.
Pro Tip: Place pads you use less than once a month inside individual zip-lock bags before storing them in a drawer or box. The extra seal keeps them fresh far longer than the lid alone.
Troubleshooting blotchy or uneven stamping:
- Uneven coverage on a pad you haven’t used in weeks: re-ink and rest before replacing.
- Ink transfers to the stamp but not to paper: foam may be over-saturated; let the pad air out with the lid open for 10 minutes.
- Faded impressions despite a full-looking pad: the dye may have evaporated even if moisture remains — re-ink with the correct re-inker.
- Pad feels dry and cracked: if the foam has physically broken down, replacement is the only fix.
Practical tips for getting crisp, clean impressions every time
Technique matters as much as the pad itself. Even the best ink pad produces muddy results if the stamping process is rushed.
Step-by-step stamping workflow:
- Prep the stamp: Clean any residue from the previous color with a damp stamp cleaner pad or baby wipe. Dry completely before inking.
- Ink the stamp evenly: Tap the stamp onto the pad surface two or three times rather than pressing and dragging. Dragging smears ink into the crevices of detailed stamps.
- Support your surface: Place a few sheets of scrap paper under your cardstock. A slightly cushioned surface absorbs pressure evenly and prevents ghosting.
- Apply firm, even pressure: Press straight down without rocking. Rocking shifts the stamp mid-impression and blurs edges.
- Lift straight up: Pull the stamp directly off the paper without sliding.
- Let it dry: Resist the urge to touch the image. Give dye inks 10–15 seconds; give pigment inks 2–3 minutes or use a heat tool.
When to use a stamping platform: A stamping platform (a hinged alignment tool) is worth the investment when you need to stamp the same image repeatedly in the same spot, or when you are layering multiple colors in registration. For single-impression decorative work, a steady hand-press is enough.
Common problems and quick fixes:
- Fuzzy lines: Too much ink on the stamp. Blot the stamp once on scrap paper before stamping your project.
- Bleeding on textured cardstock: Switch to a pigment pad, which sits on the surface rather than soaking in.
- Slow drying that smears during assembly: Use a heat tool on low for 10–15 seconds, or switch to an archival dye pad for that color.
- Ink on the stamp edges (halo effect): The stamp is picking up ink from the pad edges. Tap more lightly and center the stamp on the pad.
Top recommended brands and model comparisons
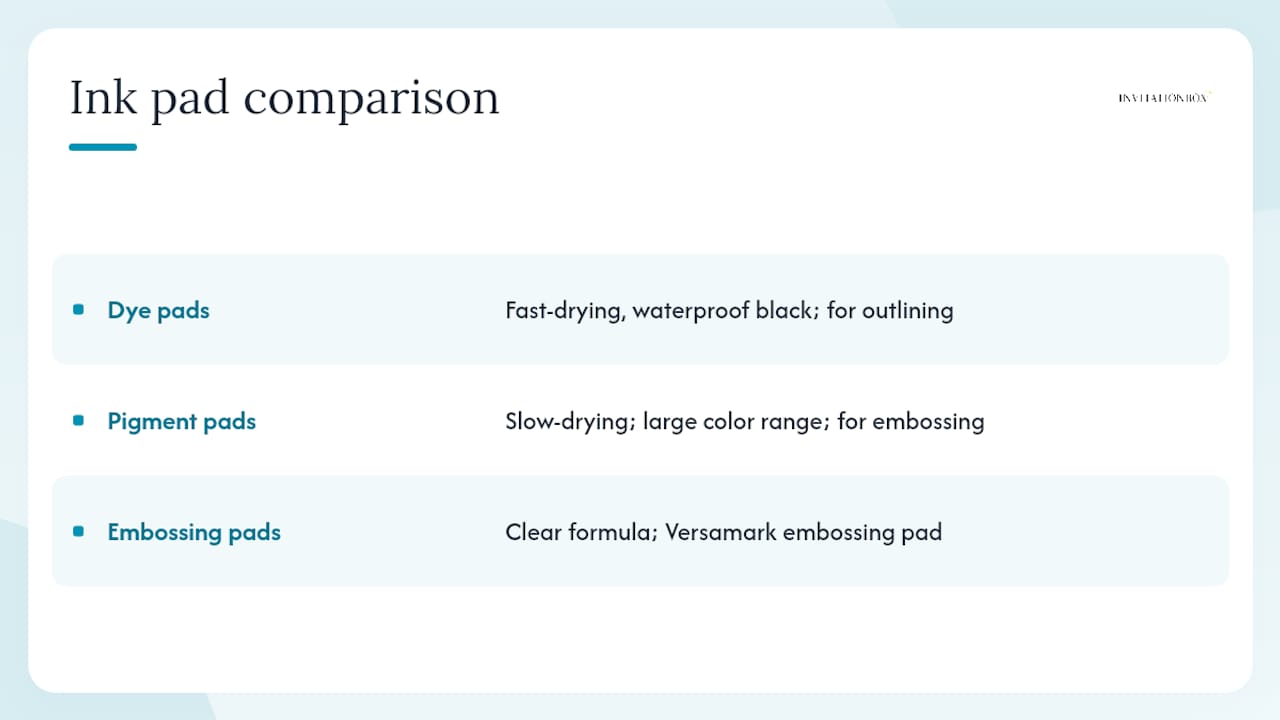
A few ink lines have earned consistent praise from cardmakers and craft demonstrators over the years. Archival-formula dye pads from established craft brands deliver the fast-drying, waterproof black that mixed-media crafters rely on for outlining before watercolor washes. Pigment lines with large color ranges give cardmakers the flexibility to match any color palette, and their slow-dry formula makes them the natural partner for heat embossing. Versamark remains the standard embossing pad that most craft buyers recommend first, with a clear formula that works across virtually every embossing powder color. For specialty work, opaque white and metallic pigment pads from dedicated craft ink manufacturers round out a complete kit.
Craft buyers recommend Versamark for embossing, archival/waterproof black pads for mixed-media, and a mix of dye or pigment lines as go-to staples depending on technique. That consensus has held for good reason: each pad type solves a specific problem, and no single pad does everything well.
For ornamental and detailed stampers, including the Modern Scroll Stamper or Embosser and the Horseshoe Stamper or Embosser from Invitationbox, a craft-grade pigment pad in a coordinating color gives the cleanest impression on the fine decorative lines these designs feature.
What should you expect to pay for quality ink pads?
Price tracks closely with ink quality and pad size, but you do not need to spend heavily to build a capable kit. Mini cat’s-eye pads in the $1.50–$6 range are a low-risk way to sample a new color or ink line before committing to a full-size pad. Full-size craft pads in established dye or pigment lines typically fall in the $6–$12 range, with premium archival and specialty lines reaching $14–$18. Re-inkers add $4–$10 per color but extend pad life significantly, making them a better long-term investment than repeatedly buying new pads.
A practical starter kit for cardmaking — one archival black, one pigment pad in a favorite color, and one embossing/Versamark pad — can be assembled for $20–$35. That covers the three core techniques: crisp outlines, rich color stamping, and heat embossing.
Where can you buy stamp ink pads?
Craft chain stores carry the most popular dye and pigment lines in-store, which lets you see the actual color before buying. The selection is usually limited to the top sellers in each line, so if you want a specific shade or a specialty pad (white pigment, metallic, or a particular archival formula), online shopping gives you far more options.
Online craft retailers and brand websites stock full color ranges, bundle deals, and re-inkers that brick-and-mortar stores rarely carry. For stampers and embossers to pair with your pads, Invitationbox offers a range of custom stampers and embossers that work with standard craft ink pads, making it a natural one-stop shop for both the tool and the accessories.
What the right ink pad kit actually looks like
Here is an honest take: most cardmakers and crafters buy too many ink pads in the early stages and end up with a drawer full of colors they rarely use. The more useful approach is to build a small, intentional kit that covers the three core techniques.
A reliable starting trio: a fast-drying archival black dye pad for crisp outlines and mixed-media work, a pigment pad in a rich accent color (or a metallic gold or silver) for layering and embossing, and a Versamark-style embossing pad for heat embossing. Those three pads handle the vast majority of cardmaking and stamped stationery projects. Once you know which techniques you reach for most, adding colors in the same ink line keeps your results consistent.
For anyone using Invitationbox stampers, the ornamental and scroll designs respond especially well to pigment pads. The fine linework in designs like the Jolly Rogerette Stamper or Embosser benefits from the even, surface-sitting coverage that pigment ink provides, rather than the soaking-in behavior of a standard dye pad.
Invitationbox stampers that pair perfectly with your ink pads
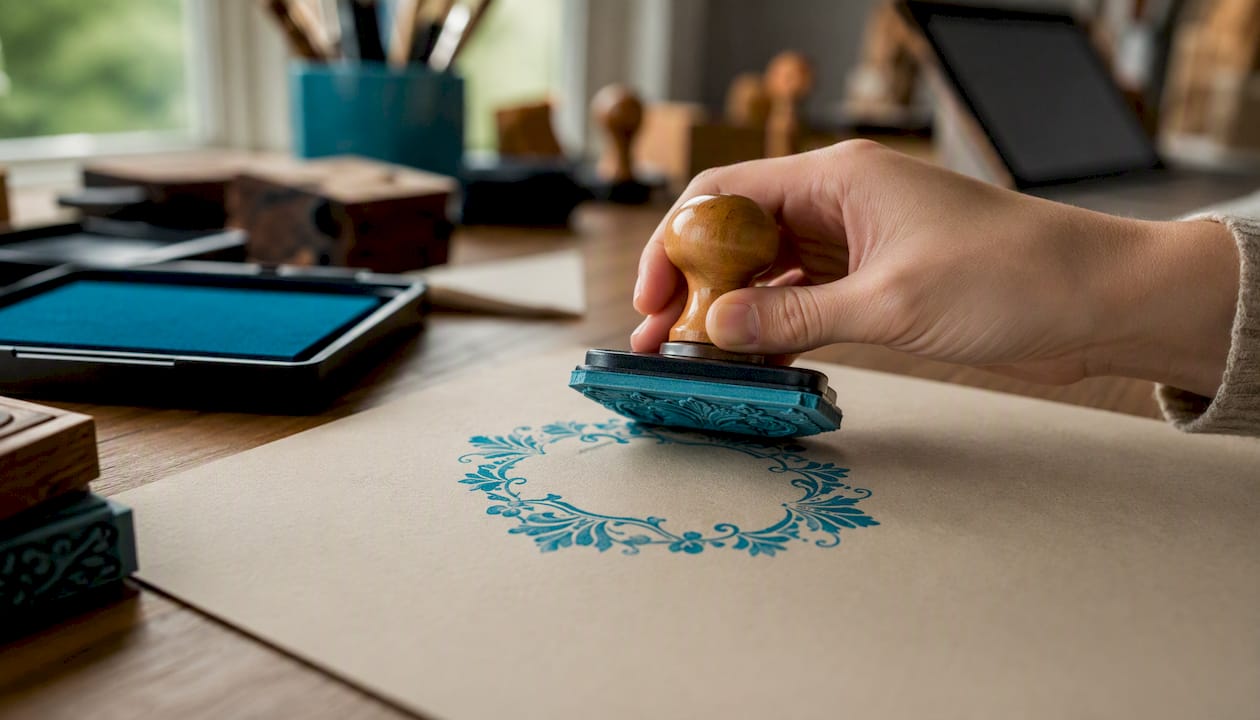
You have the pads. Now you need a stamper worthy of them. Invitationbox’s collection of custom stampers and embossers is designed for exactly the kind of detailed, heartfelt stationery work this article is about. The Corner Scrolls Square Stamper or Embosser and the Classic Scroll Square Stamper or Embosser both feature fine ornamental linework that shows off crisp pigment or archival dye impressions beautifully on cardstock, kraft paper, and vellum.
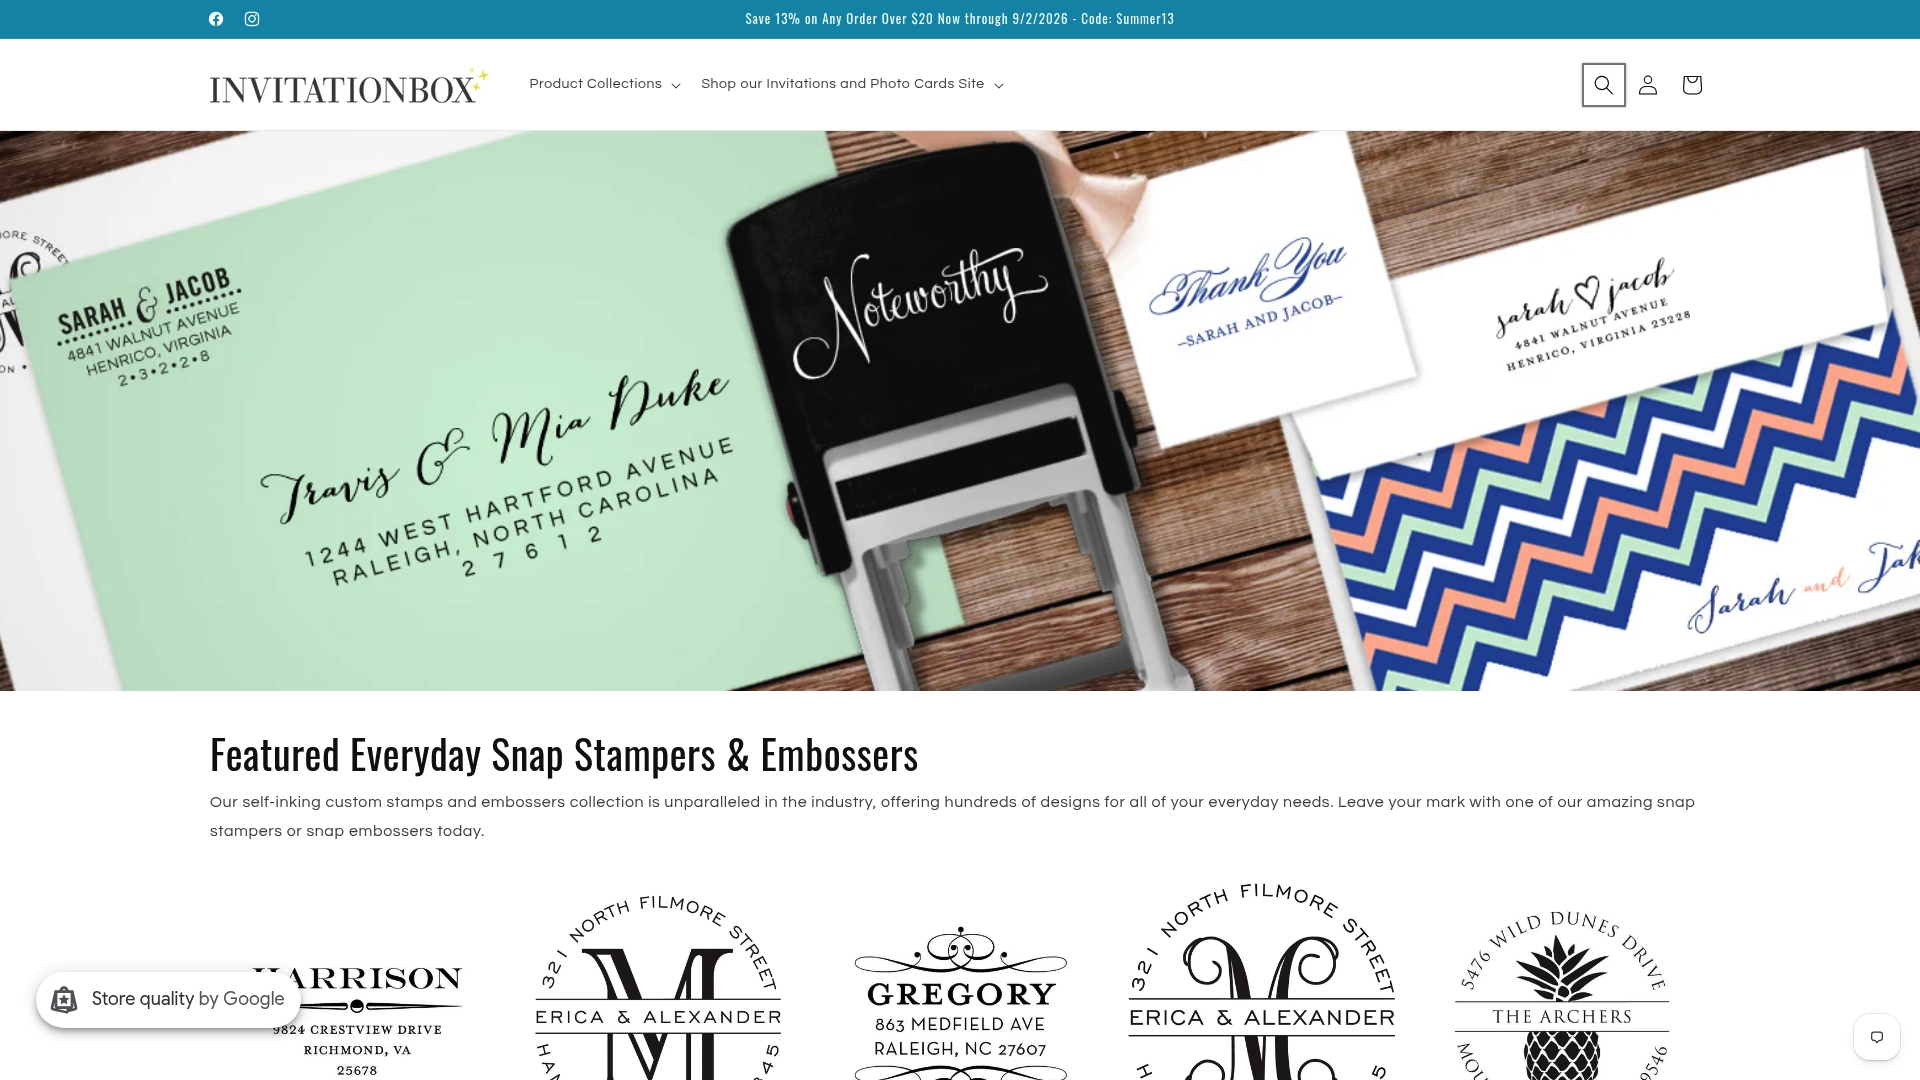
These stampers are built for personalized cards, invitations, and stationery gifts where the impression needs to look polished and intentional. They are not designed for fabric or non-porous surfaces, so pair them with paper-compatible dye or pigment pads for best results. Browse the full collection at Invitationbox and find the stamper that fits your next project.
Sources
These are the most useful references for going deeper on ink chemistry, storage habits, and pad comparisons:
- 10 Best Ink Pads for Stamping, Card Making, and Scrapbooking | Altenew
- How To Store Ink Pads | Storables
- Comparing Rubber Stamp Inks
- Expert Rated: The Best Ink Pads and Why
- How to Make Your Stamp and Ink Pads Last Longer - Craftsuprint
Recommended
- Creative Ways to Use Self-Inking Stampers for Personalized Stationery – InvitationBox.com
- The Versatility of Self-Inking Stampers for Personal and Professional – InvitationBox.com
- Self-Inking Stampers: Essential Comparison Guide
- 10 Creative Ways to Use Self-Inking Stampers in Your DIY Projects – InvitationBox.com