Elevate Your Stationery Game: How Embossing Tools Can Transform Your Notes and Cards
Looking to add a personal touch to your stationery? Embossing tools might just be the game-changer you need. With a simple process, you can elevate your notes, cards, and even envelopes to a whole new level. Let’s dive into how these tools can transform your paper goods into bespoke treasures.
The Basics of Embossing: A Quick Overview
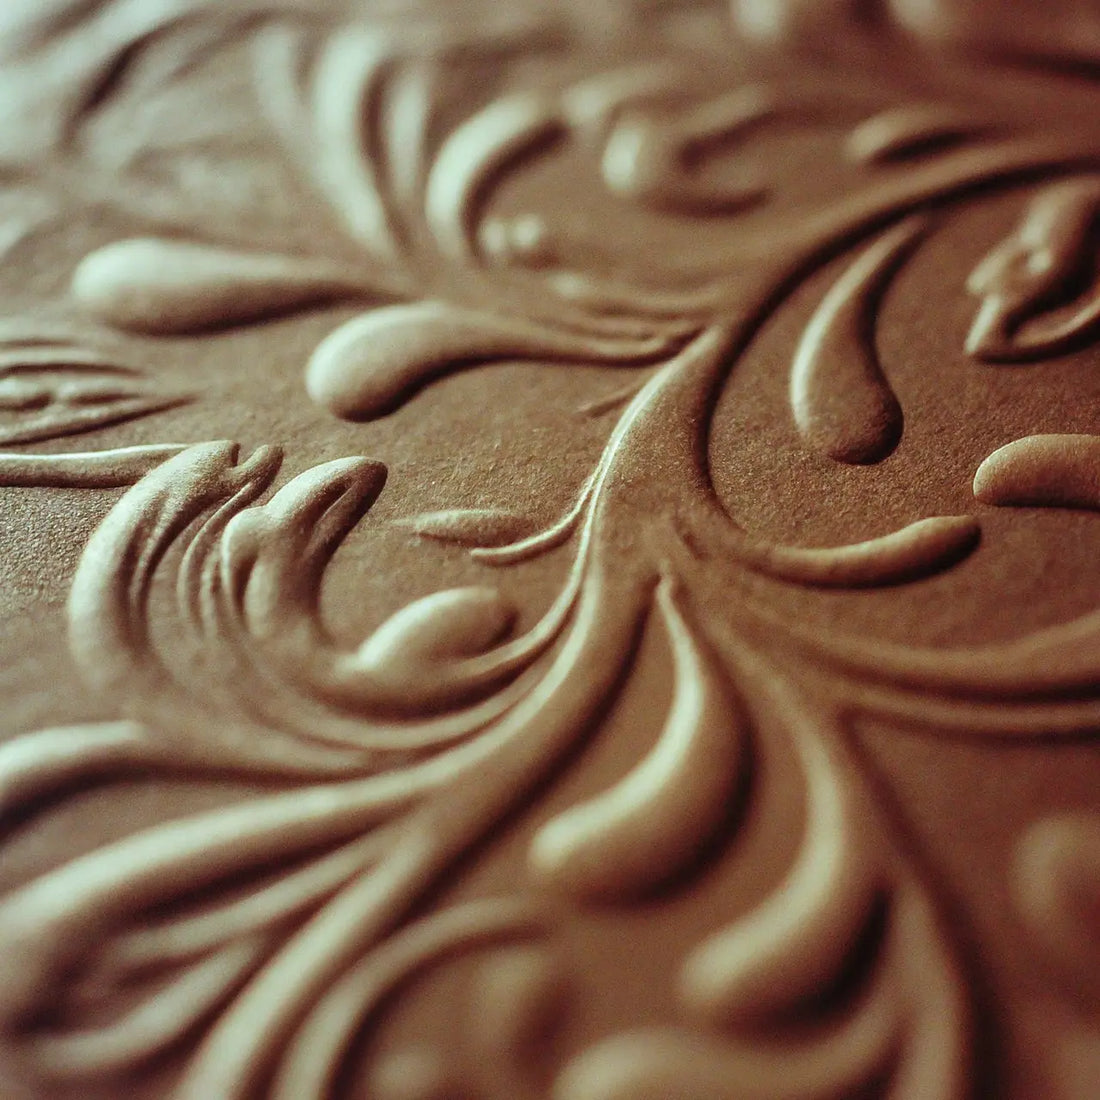
Embossing is a craft as old as the hills, yet it remains a timeless technique to add elegance to your stationery. At its core, embossing involves creating a raised, three-dimensional image or design on paper, cardstock, or even heavier materials like cardboard. This is achieved by pressing the material between a specific two-part embossing tool consisting of a die and a counter-die. The beauty of embossing is its simplicity and versatility, making it accessible to crafters of all skill levels.
Before diving into the vast ocean of embossing tools, let’s understand the two primary types of embossing you can explore: heat embossing and dry embossing. Heat embossing uses a combination of heat and embossing powder to create a raised effect that’s not only visible but also tactile. On the other hand, dry embossing, also known as relief embossing, relies on manual pressure applied with styluses, balls, and rollers to create a raised design without heat. Each type offers a unique texture and look, catering to different preferences and project requirements.
Choosing the Right Embossing Tools for Beginners
Starting your embossing journey can seem daunting with the array of tools available. However, the key to successful embossing lies in selecting tools that complement your skill level and the projects you envision undertaking. For beginners, embossing kits can be a godsend. These kits typically include everything you need to get started: an embossing pen, powder, a heat gun for heat embossing, and a few templates. Investing in a good quality embossing pen and heat tool can make a significant difference in the ease and quality of your embossing projects.
Step-by-Step Guide to Embossing Your First Card
Embolden by the myriad of possibilities embossing offers, you’re now ready to embark on creating your first embossed card. Begin by selecting a simple design or template to follow; complexity can come later. Place your cardstock on a flat, stable surface and secure your template over it. If you’re dry embossing, use a stylus to firmly but gently trace the design, applying even pressure throughout. For heat embossing, draw your design with an embossing ink pen, sprinkle the embossing powder over the ink, and tap off the excess. The magic happens when you apply heat with the heat gun, melting the powder and raising the design.
Creative Ideas for Embossed Stationery
Once you’ve mastered the basic technique of embossing, the next step is to let your creativity flow. Embossing isn’t limited to cards; it can be applied to wedding invitations, business cards, or even personal letterheads, giving them a sophisticated flair. Experiment with different embossing powders and colors to match the theme or occasion. Gold or silver embossing can add a touch of luxury to wedding stationery, whereas vibrant colors can make birthday cards pop. Don’t forget about texture, either. Mixing fine and coarse powders can yield surprising and delightful results.
Tips and Tricks for Perfect Embossing Every Time
To achieve that impeccable embossed finish, a few tips and tricks can go a long way. Always work on a clean, flat surface to avoid unwanted impressions. When using heat embossing, keep the heat gun moving to prevent burning the paper or warping the design. Practicing on scrap paper before moving on to your final piece can help perfect your technique and temperature control. And remember, embossing is as much about patience as it is about creativity; allow your designs to cool completely before handling to preserve the raised effect.
Maintaining Your Embossing Tools for Longevity
Like any craft tool, embossing tools last longer and perform better with proper care. For styluses and manual embossing tools, regular cleaning and storage away from moisture and dust can prevent damage. Heat guns should be unplugged after use and stored in a dry place. Periodically check your tools for wear and tear, especially if they’re used frequently, to ensure the highest quality in your embossing projects. And remember, the best tool maintenance is regular use—so keep embossing and exploring new designs!
Making Your Mark with Embossing
Embossing your stationery isn’t just a way to impress recipients; it’s a journey into making each piece of communication uniquely yours. Whether you’re crafting a heartfelt note or a professional letter, the addition of embossed elements guarantees that what you send out is imbued with a piece of your personality. Start small, experiment, and watch as your stationery game reaches new heights!

