

Pigment vs Dye Ink: Which One Fits Your Stamping Project?
Choose dye ink for everyday stamping, fast production, and layered ink blending; choose pigment ink for heat embossing, bold coverage, and stamping on dark cardstock. That’s the rule that solves most stamping decisions before you even open a catalog. Craft guides consistently point stampers toward a reliable dye pad for daily work, adding pigment pads only when a project calls for embossing or opacity.
Here’s where each ink earns its keep, and where it lets you down.
- Dye ink shines when you’re stamping return addresses on a hundred envelopes, layering watercolor-style backgrounds, or need a crisp image that dries almost the moment it hits the page.
- Pigment ink shines when you’re heat embossing monograms, stamping metallics onto navy or black cardstock, or building a wedding invitation suite that needs to look substantial under a fingertip.
- Red flag: using pigment ink on a glossy, coated invitation card without heat-setting it first. It will smear the moment you touch it, sometimes hours later.
Invitationbox works with both ink families across its custom self-inking stamps and embossers, and the choice between them comes down to your paper, your timeline, and how permanent you need the result to be.
Key Takeaways
Matching ink type to paper and drying time, not brand loyalty, is what actually prevents smudging, fading, and wasted cardstock on stamping projects.
| Point | Details |
|---|---|
| Use dye for speed | Choose dye ink for everyday stamping, mass runs, and layered blending on porous paper. |
| Use pigment for permanence | Choose pigment ink for heat embossing, dark cardstock, and formal invitation pieces. |
| Test before a big run | Stamp, wait 30 seconds, and rub with a fingertip to check smudge risk before committing paper. |
| Match pad to technique | Gel-foam pads suit blending; felt or linen pads suit direct, aggressive stamping. |
| Invitationbox pairs both | Stampers like the Dolphin, Red Hot Dot, and Buoy work with either ink family for mixed workflows. |
Table of Contents
- Pigment vs Dye Ink: A Quick Comparison for Stamping
- How Pigment Ink Behaves and Why It Matters for Invitations
- How Dye Ink Behaves and Why It’s the Everyday Choice
- Choosing the Right Ink for Your Project
- Techniques, Paper, and Stamp Care That Actually Matter
- Testing and Maintenance Before a Big Run
- The Bottom Line on Which Ink to Buy
- Toxicity, Emissions, and Eco-Friendly Considerations
- A Practical Take on Pigment vs Dye Ink
- Find the Right Stamper for Your Ink and Project
- Frequently Asked Questions
- Sources
Pigment vs Dye Ink: A Quick Comparison for Stamping
Before you stand in front of a wall of ink pads wondering which one to grab, it helps to see the tradeoffs side by side. Pigment and dye inks aren’t competing for the same job. They’re built for different ones.
| Feature | Pigment Ink | Dye Ink |
|---|---|---|
| Best for | Embossing, dark cardstock, bold formal pieces | Everyday stamping, blending, mass runs |
| Dry time / smudge risk | Slow to dry, higher smudge risk on coated stock | Fast drying, low smudge risk |
| Water resistance / permanence | Higher, more color-stable over time | Lower, prone to blurring if wet |
| Color vibrancy / finish | Opaque, sits on top of the paper | Translucent, soaks into the fibers |
| Heat embossing compatibility | Excellent, formulated to stay workable | Poor, dries before powder adheres |
| Paper compatibility | Best on porous or cardstock surfaces | Best on porous, absorbent paper |
| Speed for mass projects | Slower, needs drying or heat-setting time | Faster, ideal for repeat stamping |
| Maintenance / pad life | Needs occasional re-inking, dries out if uncapped | Re-inks easily, felt pads may fray |
Pro Tip: Don’t force one ink to do two jobs. If a project needs both speed and formal polish, run a two-ink workflow: stamp backgrounds and layered elements in dye ink first, then finish with a bold pigment impression or embossed detail on top. This is exactly the mixed approach experienced crafters use when a single ink pad can’t cover both goals.
How Pigment Ink Behaves and Why It Matters for Invitations
Pigment ink doesn’t soak into the paper the way you’d expect ink to behave. It sits on top of the fibers, which is why it reads as thicker and more opaque than dye ink. That surface-level behavior is the whole story: it’s why pigment ink dries slowly, why it works so well on dark cardstock, and why it’s the only real option for heat embossing.
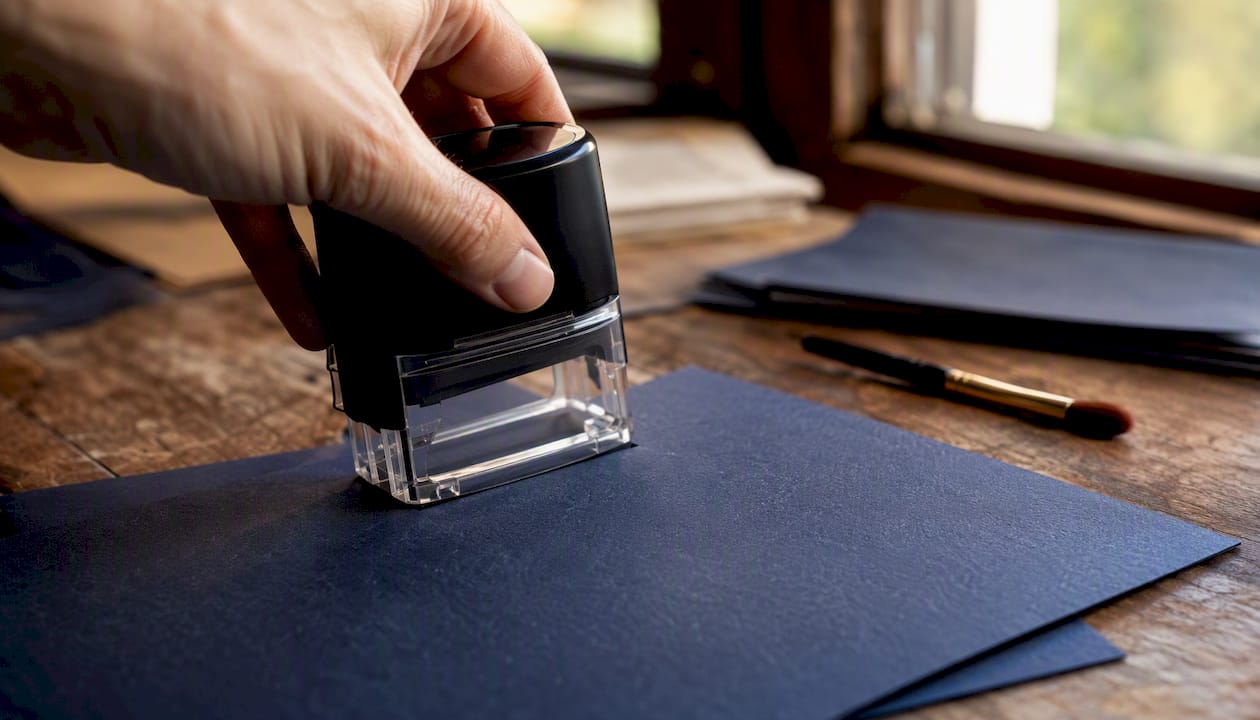
Because the ink stays wet longer, embossing powder has time to grip the impression before it sets. Some pigment formulations even include glycerin or similar slow-drying additives specifically to extend that workable window, giving you a few extra seconds to pour powder and tap off the excess.
That same slow-dry trait becomes a liability the moment you’re racing through a stack of a hundred RSVP cards. Pigment ink on smooth, coated stock can stay tacky far longer than you’d expect, and stacking or handling those cards too soon smears the impression.
- Stamp, then wait at least a minute before handling on coated or glossy stock.
- Heat-set with an embossing gun even without powder if you need faster handling on smoother paper.
- Keep the pad capped tightly between uses. Pigment pads dry out faster once exposed to air than most dye pads do.
- Recap immediately after inking, since re-inking a fully dried pigment pad rarely restores full opacity.
Pro Tip: If you’re stamping pigment ink on a smoother invitation stock and don’t have embossing powder on hand, a two-second pass with a heat gun set on low will tack down the surface enough to prevent smudging without changing the finish.
How Dye Ink Behaves and Why It’s the Everyday Choice
Dye ink works the opposite way. It absorbs directly into porous paper, which is why it dries fast and produces crisp, clean impressions almost every time you press a stamp to paper. That speed makes it the default for anyone stamping in volume, whether it’s monogram return addresses or a hundred matching favor tags.
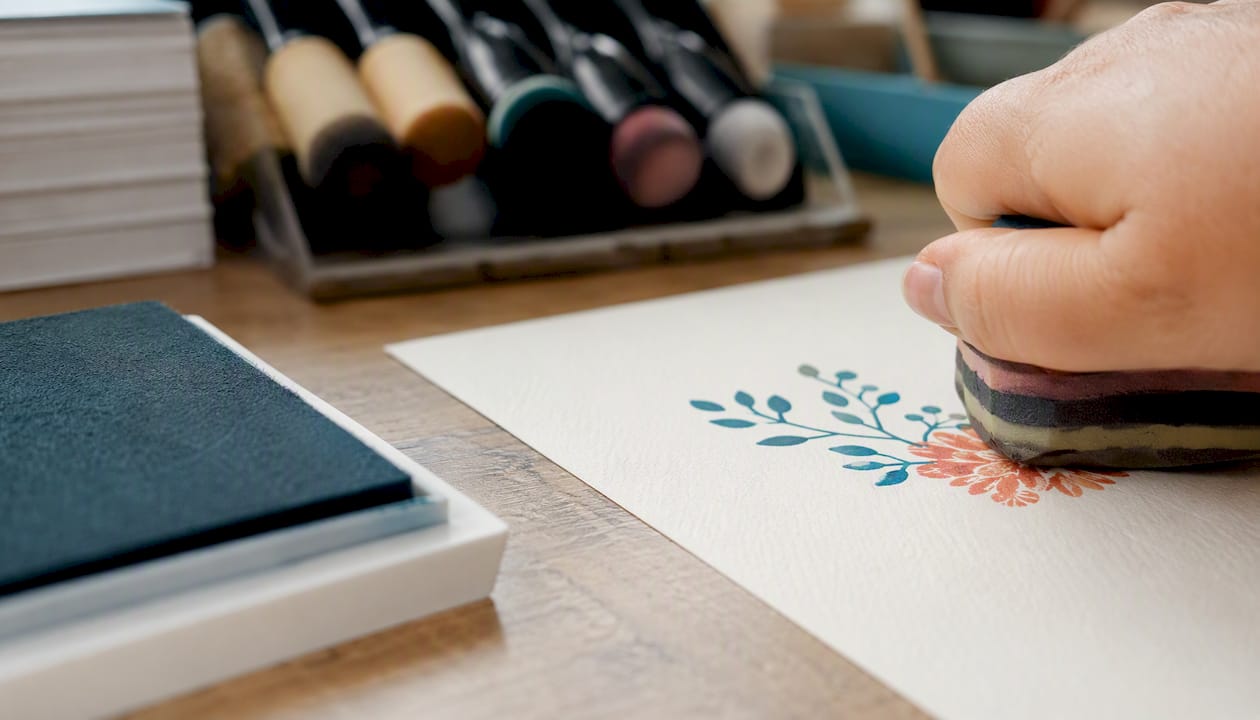
The absorption that makes dye ink dry fast is also why it fades or loses opacity on dark or heavily coated stock. It sinks into the fibers instead of sitting on top of them, so on black or navy cardstock, a dye impression can look washed out next to the bold, opaque line a pigment stamp leaves behind.
Dye ink also dominates layered and blended techniques. Its thinner consistency and reliable absorption make it far easier to build watercolor-style backgrounds or shade multiple tones without muddying the paper.
- Choose felt or gel-foam pads for straightforward, direct stamping.
- Reach for gel-foam specifically when blending, since linen-topped felt pads tend to fray over repeated blending motions and leave stray fibers on your work.
- Expect to re-ink more often on high-use pads, since dye ink’s fast absorption also means it depletes faster with heavy use.
Choosing the Right Ink for Your Project
Run through this checklist before you commit to an ink pad for a specific project. It cuts through the guesswork faster than reading spec sheets on a pad’s packaging.
- Everyday invitation printing or return addresses — dye ink, for speed and crisp detail.
- Layered or watercolor-style stamped art — dye ink, for smooth blending and quick drying between layers.
- Dark cardstock invitations or place cards — pigment ink, for opacity that actually shows up against a dark background.
- Mass-run favor tags or envelopes — dye ink, unless the design calls for embossing.
- Vellum or acetate projects — pigment ink, since these non-porous surfaces need ink that sits on the surface rather than absorbing.
- Heat-embossed monograms or seals — pigment ink or a dedicated embossing ink, always.
- Formal wedding suites with metallic accents — pigment ink, paired with embossing for a raised, substantial finish.
When two inks could technically work, prioritize by what matters most for that piece: speed favors dye, finish and permanence favor pigment. Avoid pigment on glossy, coated stock unless you’re heat-setting it, and avoid dye on dark or non-porous surfaces where it simply won’t show up.
Pro Tip: For an invitation suite, stamp the address and any background details in dye ink first, then finish with a pigment-embossed monogram. You get the speed of dye for the bulk of the work and the polish of pigment where guests actually look first.
Techniques, Paper, and Stamp Care That Actually Matter
Heat embossing only works with slow-drying ink, which is why pigment or dedicated embossing ink is non-negotiable here. Stamp your image, pour embossing powder immediately while the ink is still wet, tap off the excess, and apply heat until the powder melts to a glossy finish. Wait too long between stamping and pouring powder, and the ink dries before the powder can adhere.
Blending favors dye ink for a simple reason: its thinner formulation moves and layers more predictably across a stamp’s surface. Pigment can technically be layered too, but its opacity tends to flatten subtle color transitions rather than blend them.
Paper choice changes everything. Porous cardstock takes both inks well. Coated or glossy stock is where pigment struggles unless heat-set, while dye ink can look thin or streaky. Textured surfaces like linen or cotton cardstock hold pigment beautifully because the raised fibers grip the thicker ink, while smooth vellum needs pigment or specialty ink since dye simply beads on the surface instead of soaking in.
| Surface Type | Better Ink Choice | Why |
|---|---|---|
| Porous cardstock | Either | Both absorb and dry reliably |
| Coated/glossy stock | Pigment (heat-set) | Prevents smearing on non-absorbent finish |
| Textured (linen, cotton) | Pigment | Thicker ink grips raised fibers for bold detail |
| Vellum/acetate | Pigment | Dye beads instead of absorbing on non-porous surfaces |
For pad care, match the pad top to the ink. Felt and linen-topped pads handle direct, aggressive stamping well but wear down faster under repeated blending. Gel-foam holds up better for blending work and resists the fraying that plagues linen tops over time. Recap pads immediately after use, store them ink-side down, and keep pigment pads away from direct sunlight or heat sources that accelerate drying.
Testing and Maintenance Before a Big Run
Never commit to a hundred invitations without testing the ink and paper combination first. This five-minute check saves you from ruining an entire batch of cardstock.
- Stamp a test image on the actual paper you’ll use, not a scrap substitute.
- Wait 30 seconds, then lightly rub the impression with a fingertip. Smudging means you need more dry time, a different ink, or heat-setting.
- If the piece might get wet or handled roughly (save-the-dates mailed in humid climates, place cards near drink glasses), dab a drop of water on a test stamp. Dye ink often blurs; pigment ink typically holds its shape and color better.
- If embossing, check powder adhesion by tapping the stamped test piece upside down. Powder that falls off cleanly signals the ink dried too fast.
Pad maintenance is just as important as the test itself:
- Re-ink pigment pads at the first sign of a lighter, streaky impression rather than waiting until they’re fully dry.
- Rescue a sticky, over-inked pad by blotting it gently on scrap paper before storing it lid-side down.
- Replace a pad once the surface cracks, the color goes patchy, or impressions consistently lose fine detail even after re-inking.
The Bottom Line on Which Ink to Buy
The one-line rule holds for almost every project: dye ink for speed and everyday stamping, pigment ink for embossing, opacity, and dark or formal pieces. The one exception worth remembering is vellum and acetate, where you need pigment regardless of speed, because dye simply won’t absorb into a non-porous surface.
If you only buy two pads to cover most needs, get one reliable dye pad in a neutral color and one black or dark pigment pad for embossing and accent work. That combination handles the overwhelming majority of stationery and paper-craft projects without forcing you to guess mid-project.
- A dependable dye pad for envelopes, RSVP cards, and everyday stamping.
- A black or colored pigment pad for embossed monograms, seals, or dark cardstock accents.
- A self-inking stamper that pairs cleanly with either ink family, so you’re not locked into one workflow.
Toxicity, Emissions, and Eco-Friendly Considerations
Most modern stamp inks, both pigment and dye, are water-based rather than solvent-based, which means they don’t off-gas the sharp fumes associated with older solvent inks. That said, pigment ink’s thicker, slower-drying formulation sometimes includes glycerin or other additives that keep it workable for embossing, and those additives are worth checking if you’re stamping in a small, enclosed space for hours at a stretch.
Dye ink’s faster evaporation means less lingering odor during long stamping sessions, which matters if you’re running a mass production of favor tags at your kitchen table. Neither ink family is typically classified as hazardous for standard home craft use, but ventilation is still smart practice anytime you’re working through a large batch, especially with heat embossing involved, since melting powder does release a faint odor as it cures.
If eco-friendliness matters to your buying decision, look for pads labeled acid-free and non-toxic, both common in craft-grade dye and pigment lines, and favor refillable pads over disposable ones to cut down on packaging waste over repeated projects.
A Practical Take on Pigment vs Dye Ink
Most stamping advice treats this like a permanent allegiance. Pick a side, stock up, move on. That’s backwards. The stampers who get the best results keep both ink families on hand and switch based on the paper in front of them, not out of loyalty to one type.
What surprises a lot of people is how often the paper, not the ink, causes the problem. Someone blames a “bad” pigment pad for smudging when the real issue is that they used it on glossy invitation stock without heat-setting. Someone else swears dye ink looks “dull” when they’ve stamped it on navy cardstock, a surface dye was never suited for in the first place. Matching dry time to project speed solves a huge share of the frustration beginners run into with stamp ink, and it has nothing to do with the quality of the pad they bought.
For personalized invitations and small event runs, a pigment pad paired with an embossed monogram still produces the most striking result on the table. For mass stamping, envelope addressing, or anything on a deadline, dye wins every time on speed alone. Invitationbox’s product lineup, including its self-inking stampers and embossers, exists precisely because most stationery projects need both approaches at different stages, not one ink pad doing every job.
Find the Right Stamper for Your Ink and Project
Once you’ve settled on your ink, the stamper you pair it with matters just as much. The Dolphin Stamper or Embosser works well for detailed monogram impressions, whether you’re loading it with a fast dye pad for everyday cards or a pigment pad ahead of an embossing session.
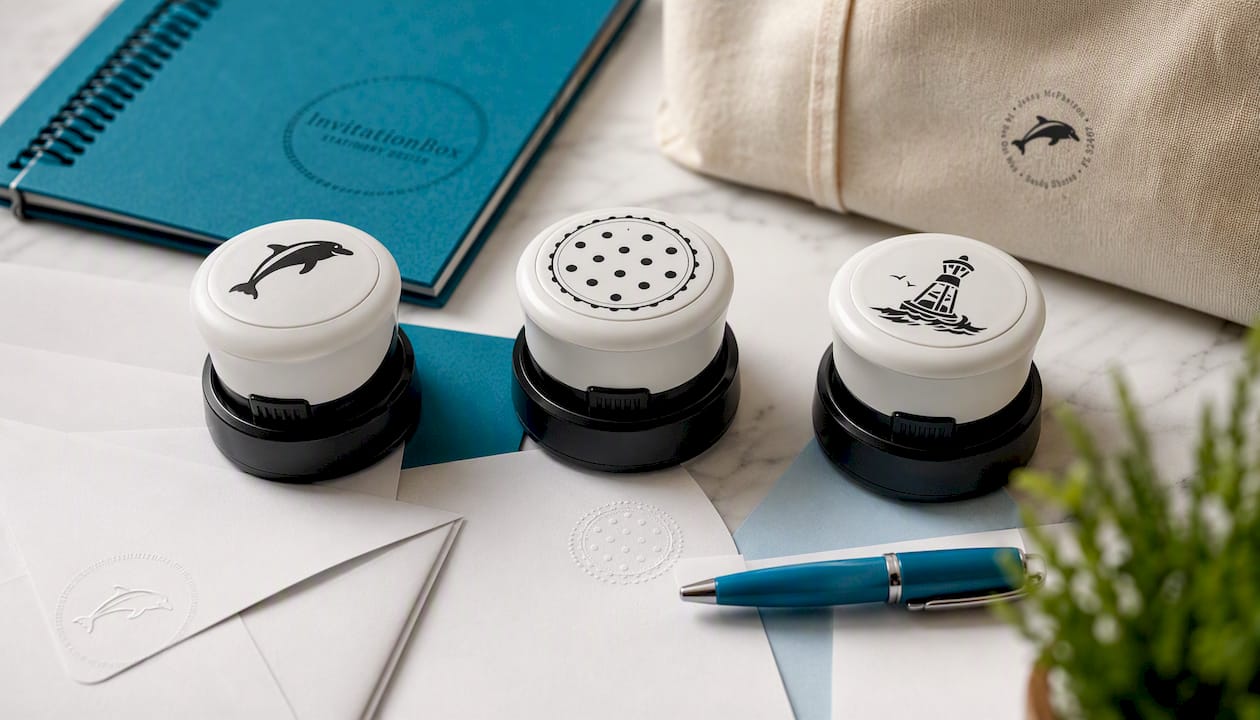
For smaller, quicker projects like place cards or gift tags, the Red Hot Dot Stamper or Embosser offers a compact option that handles either ink family without a learning curve. And if you want one stamper flexible enough to switch between dye for daily use and pigment for formal pieces, the Buoy Stamper or Embosser covers both without needing a second tool on your desk. Browse the full lineup and match a stamper to your next stationery project directly on Invitationbox.
Frequently Asked Questions
Is pigment ink or dye ink better for wedding invitations? Pigment ink usually wins for wedding suites, especially on dark or textured cardstock, because it delivers the opaque, formal finish that pairs well with embossing. Dye ink still works for lighter-colored, everyday pieces like RSVP envelopes.
Can I use dye ink for heat embossing? Not reliably. Dye ink dries too fast for embossing powder to adhere before it sets, so pigment or dedicated embossing ink is the better choice whenever a project involves heat embossing.
Why does my pigment ink smudge on glossy paper? Glossy or coated stock doesn’t absorb ink the way porous cardstock does, so pigment ink stays wet on the surface longer. Heat-setting the impression or waiting longer before handling usually solves it.
Does dye ink fade faster than pigment ink? Generally, yes. Pigment ink tends to offer better color stability and water resistance over time, which is why it’s often preferred for archival-quality or long-term keepsake pieces.
What’s the best all-around ink pad for a beginner stamper? Start with one reliable dye pad for everyday projects, then add a pigment pad once you start experimenting with embossing or dark cardstock designs.
Sources
- Types of Ink for Paper Crafts: Dye vs Pigment + Uses & Tips — WondersArtist
- Learn the basics about stamping ink — Julie Ebersole
- Archival printing: preserve your art’s beauty for decades — EmansGallery