

How to Prevent Stamp Smudging on Every Project
To prevent stamp smudging, test your ink-surface combo before you commit, tap the pad instead of pressing hard, lift straight up, and switch to a fast-drying or solvent ink for coated cardstock. Invitationbox has spent many years watching hobbyists chase clean impressions, and the fix almost always traces back to one of three culprits: the wrong ink, the wrong surface, or a rushed hand. Before you touch another sheet, run through this:
- Test the stamp on a scrap of the actual material you’re using.
- Tap the ink pad two or three times. Never press the stamp into it.
- Press straight down, hold a beat, and lift straight up. No rocking.
- Blot gently or use a heat tool if the ink still looks wet after a short drying period.
- Switch to a solvent-based ink if you’re working on anything glossy or coated.
Remember: ink, surface, and technique are the only three variables that matter here.
Key Takeaways
Stamp smudging almost always traces back to one of three fixable causes: mismatched ink chemistry, the wrong surface prep, or rushed technique.
| Point | Details |
|---|---|
| Test before you commit | Stamp on scrap material matching your real project before touching final cardstock. |
| Match ink to surface | Use dye ink on porous stock and solvent or pigment ink on glossy or coated surfaces. |
| Tap, don’t press | Tap the ink pad and stamp off excess before your final impression to avoid pooling. |
| Clean and store stamps properly | Wipe stamp faces after each session and store face up in a dry spot to prevent buildup. |
| Consider self-inking or embossing tools | Invitationbox’s self-inking stampers and embossers reduce handling and ink-related smudging. |
Table of Contents
- What Order Should You Troubleshoot Stamp Smudges In?
- Which Ink Type Actually Stops Smudging?
- Does Your Paper Choice Cause Smudging?
- How Should You Ink, Press, and Lift a Stamp?
- How Do You Clean and Store Stamps to Avoid Smudges?
- What Should You Do About a Smudge After It Happens?
- Which InvitationBox Products Help You Avoid Smudging?
- What Do Most Guides Get Wrong About Stamp Smudging?
- Which InvitationBox Stamps and Notepads Should You Try First?
- Sources
What Order Should You Troubleshoot Stamp Smudges In?
Guessing wastes cardstock. Work through causes in this order, from most common to least:
- Retest on the real material. A stamp that looks perfect on copy paper can smear on glossy cardstock. Different fibers absorb ink differently.
- Reduce ink volume. Stamp once on scrap paper before your final impression. This “stamping off” step removes excess ink that would otherwise pool and smudge.
- Adjust your pressure. Too much force pushes ink outward past the design’s edges, creating a halo. Ease up and see if the blur disappears.
- Stabilize the paper. A sheet that shifts mid-stamp drags wet ink sideways. Anchor it before you press.
- Change your ink type. If steps one through four don’t fix it, the ink chemistry is probably wrong for your surface.
A troubleshooting checklist that isolates ink type, paper texture, and technique catches most smudge patterns before they ruin a whole batch. A halo around crisp lines usually means too much pressure. Patchy, uneven coverage usually means too little ink or a dirty stamp face.
Pro Tip: If your third test print still smudges, stop and remake the piece on fresh cardstock instead of layering more attempts on top of a compromised sheet.
Which Ink Type Actually Stops Smudging?
Not all stamp ink behaves the same way, and picking the wrong one is the single fastest route to smeared results.
- Dye ink dries fast and soaks cleanly into porous cardstock, making it the safest everyday choice for cards and notepads. It’s also the first ink to fail on anything glossy.
- Pigment ink sits on top of the paper rather than soaking in, giving richer, more opaque color. It dries slower, so it needs heat-setting or extra drying time, especially for embossing work.
- Solvent and hybrid inks are built for surfaces that reject water-based formulas entirely. On glossy, coated, or plastic surfaces, solvent ink adheres and dries quickly where dye or pigment ink would just bead up and smear the moment you touch it.
The practical rule: match ink to surface before you match ink to color. Test a small stamp on your actual material, heat-set pigment ink if you’re not embossing, and never reach for dye ink on a glossy photo card. That single substitution solves more smudging complaints than any technique adjustment.
Does Your Paper Choice Cause Smudging?
Porous cardstock behaves nothing like coated or glossy stock, and that difference explains most “why does my stamp always smear” frustration.
- Porous paper (uncoated cardstock, kraft, most notepads) soaks ink into its fibers fast, which is exactly why dye ink works so well on it.
- Coated or glossy stock resists absorption. Ink sits on the surface longer, which means more time for a stray finger or a shifting sheet to smear it.
- Textured papers (linen, cotton) can grab ink unevenly across the raised and recessed areas, producing a patchy look that isn’t really a smudge at all.
- Yupo and synthetic surfaces need solvent or pigment ink with heat-setting; dye ink will bead and slide right off.
Placing a folded piece of cardstock or a dedicated stamping mat under your paper gives just enough give to improve contact across the whole design, and it noticeably reduces edge blur compared to stamping directly on a hard table. If you’re stamping on a laminated or coated surface for a durable finished piece, a clear matte spray varnish afterward adds handling protection once the ink has fully cured. For truly stubborn coated stock, skip ink altogether and switch to an embosser, which leaves a raised impression with zero drying time and zero smear risk.
How Should You Ink, Press, and Lift a Stamp?
Technique fixes more smudges than any product swap, and it costs nothing to change.
- Tap, don’t press. Tap the stamp onto the ink pad two or three times. Pressing the stamp into the pad forces ink into the recessed areas of the design, and that excess ink is what bleeds out later.
- Stamp off first. Press the inked stamp onto scrap paper once before your real impression. This removes just enough ink to prevent pooling.
- Press straight down. Apply even pressure across the whole stamp, hold for a second or two, then lift straight up without rocking side to side.
- Anchor the paper. Low-tack tape or a non-slip mat keeps your sheet from shifting mid-press, which is one of the most overlooked causes of smeared edges.
- Use a platform for repeats. A stamping platform holds the stamp in a fixed position, which matters most when you need several identical impressions across a batch of cards or tags.
Pro Tip: Wash your hands before a long stamping session. Oily fingers transfer residue onto paper edges, and that residue smears wet ink just as badly as a heavy hand does.
How Do You Clean and Store Stamps to Avoid Smudges?
A dirty or damaged stamp face is one of the quietest causes of uneven ink transfer, and most crafters never think to check it.
- Wipe rubber and photopolymer stamps with a baby wipe or damp cloth after every water-based ink session; dedicated cleaners work better for solvent ink residue.
- Check the stamp face for cracks or dried ink buildup in the recessed lines. Buildup holds extra ink and causes patchy, blotchy impressions.
- Keep separate ink pads for separate colors. Cross-contamination between pads turns clean red into muddy brown fast.
- Store stamps face up in a cool, dry spot. Keep photopolymer stamps in their original packaging when possible to protect the surface between uses.
What Should You Do About a Smudge After It Happens?
Not every smudge means starting over. Blot gently with a paper towel or soft cloth. Never rub, since rubbing spreads wet ink across a wider area instead of lifting it.
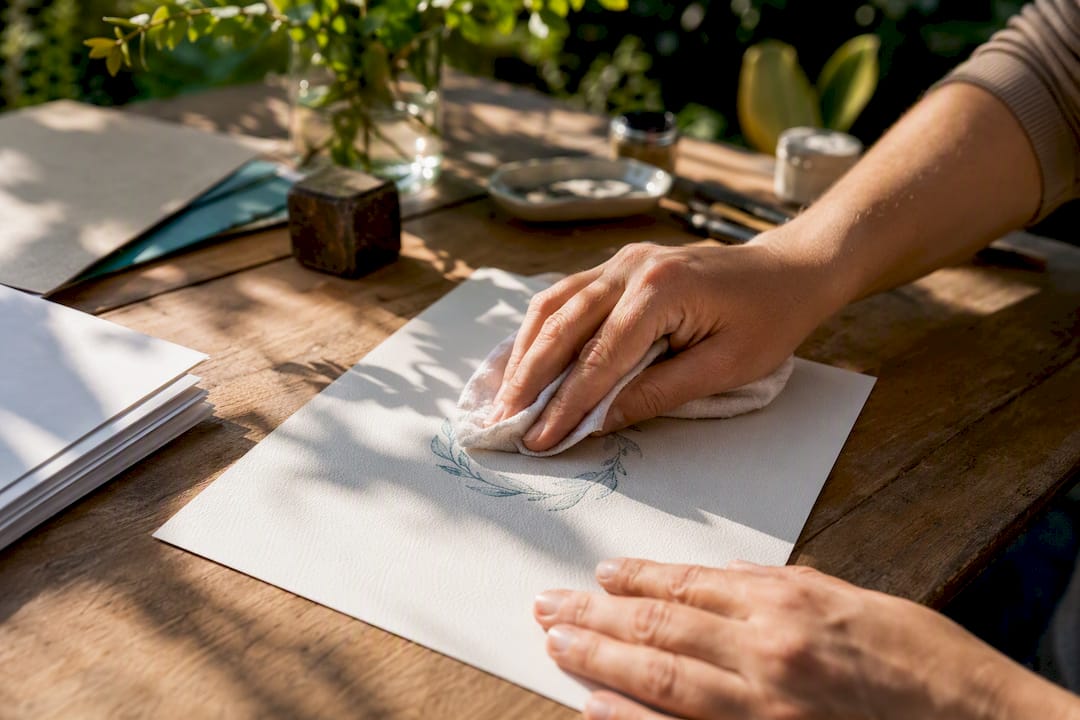
For a small dry smudge on finished paper, a sand eraser can lift it without tearing the fibers, as long as you work gently and stop the moment the paper starts to thin.
If the smudge is too visible to erase, cover it. Enamel dots, sequins, a sentiment strip, or a layered design element can turn a mistake into an intentional detail. If you decide to re-stamp instead, realign with a jig and skip re-inking. Adding more ink on top of an existing smudge almost always makes it worse.
Which InvitationBox Products Help You Avoid Smudging?
Handling is often the real enemy. Every time a hand touches wet ink, or a stamp shifts mid-press, you introduce a chance for smearing, and self-inking tools remove several of those touchpoints entirely.
- Self-inking stampers deliver a consistent, even ink layer with a single press, which matters most for repetitive jobs like return addresses or party favor tags.
- Embossers skip ink altogether. A raised impression can’t smudge because there’s no wet ink to touch, which makes them a strong pick for formal invitations or gift tags where zero drying time matters.
- Personalized notepads on porous paper stock pair naturally with dye ink for everyday notes and to-do lists.
Invitationbox built its reputation over 19+ years around solving exactly these small friction points, including its proprietary Snap Stamp system for building custom self-inking designs.
| Point | Details |
|---|---|
| Self-inking reduces handling | Fewer touches to wet ink mean fewer chances for smears on repeat impressions. |
| Embossing eliminates ink risk | A no-ink impression can’t smudge, which suits formal or gift-tag projects. |
| Porous notepads pair with dye ink | Fast absorption on notepad stock keeps everyday stamping clean. |
What Do Most Guides Get Wrong About Stamp Smudging?
Most troubleshooting advice treats smudging as a single problem with a single fix, usually “press harder” or “use more ink.” That’s backward. The research behind this guide points to the opposite conclusion: excess ink and excess pressure cause more smudges than they solve. The instinct to compensate for a faint impression by pushing down harder is exactly what creates the halo effect crafters complain about most.
The bigger blind spot is surface matching. Plenty of guides walk through technique in detail and barely mention that a dye ink built for cardstock will never behave properly on a glossy photo card, no matter how carefully you press and lift. Ink chemistry sets the ceiling on how clean your result can be. Technique only gets you to that ceiling.
If you take one thing from this guide, make it the test-first habit. Stamp on scrap material that matches your real project before you touch your good cardstock. It costs you thirty seconds and saves you an entire ruined batch. Everything else, from pressure to pad tapping to paper anchoring, is a refinement you make once you already know your ink and surface are compatible.
Which InvitationBox Stamps and Notepads Should You Try First?
Once you know your surface and ink match, the fastest way to confirm it is to put a real product in your hands rather than keep testing blind. Invitationbox sells self-inking stampers and embossers built specifically to remove the handling errors that cause smudges in the first place, along with porous-paper notepads that pair naturally with fast-drying ink.
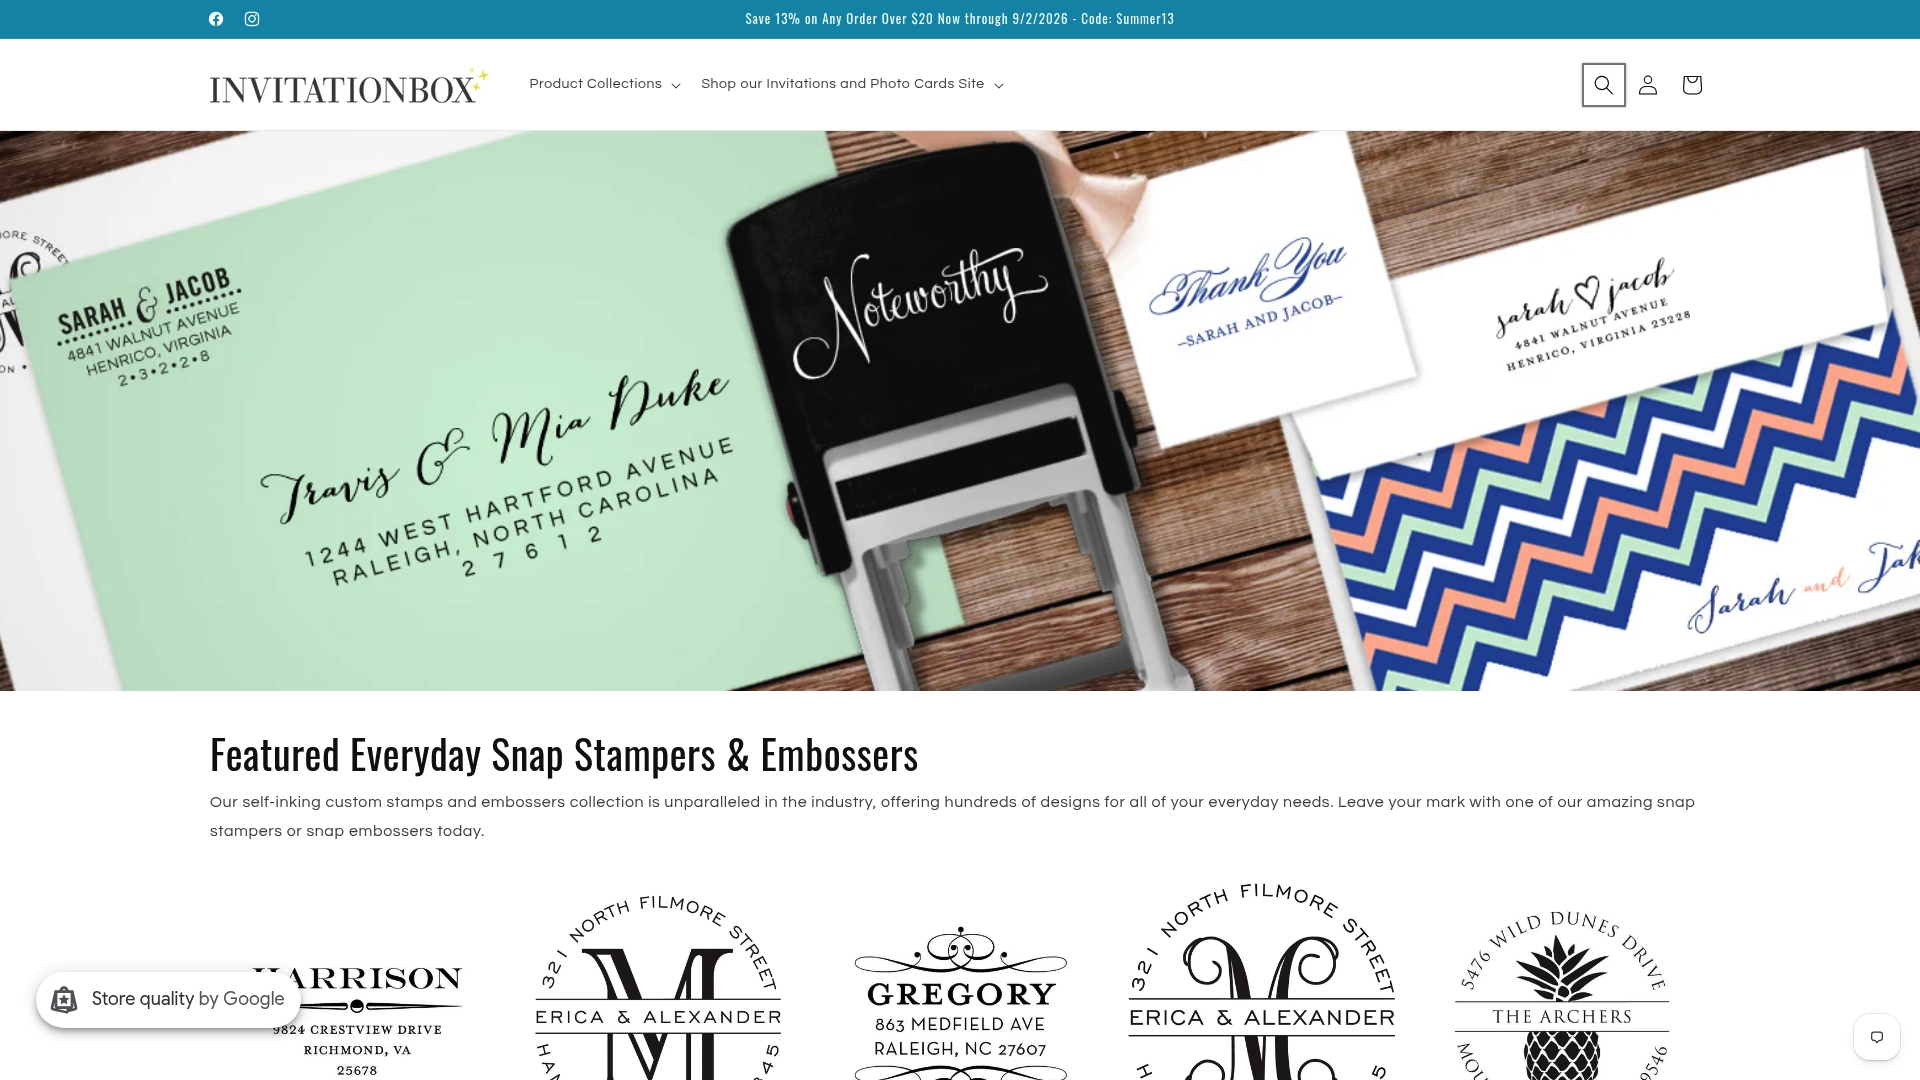
If you’re stamping repeat impressions like gift tags or party labels, the Paw Print Stamper or Embosser and the Recycle Stamper or Embosser both cut down on manual re-inking between presses. For a decorative finished piece where you want zero smear risk, the Vintage Seahorse Stamper or Embosser skips ink entirely in favor of a raised impression. And if your project calls for dye ink on porous paper, the Pastel Patchwork Personalized Notepad, Preppy & Bold Personalized Notepad, and Multi-Color Chevron Personalized Notepad are all built on stock designed to absorb ink cleanly. For photo-based projects, the Fun Holiday Confetti Photo Card and Believe Photo Card work well once you’ve confirmed your ink suits a coated finish. Start with one product that matches your next project and shop to test it against the techniques above before you commit to a full batch.
Sources
- Best Troubleshooting Checklist for Common Stamp Ink Smearing Issues | Stamp Making Tip 101
- Common stamping problems and fixes | Design With Jo
- How to Get a Clean Stamp Impression Every Time | The Kind Cardmaker
- How to Stamp on Any Surface: The Complete Ink & Technique Guide for Large Custom Stamps | Stampty
- How to use, clean and store rubber stamps | Jonna Studio