

Choosing the Right Invitation Cardstock Weight
For most main wedding invitations, the best invitation cardstock weight is 110 to 120 lb cover, roughly 300 to 350 gsm. It feels substantial in the hand, survives the postal system, and prints beautifully across digital and letterpress methods alike. The exceptions: home printers usually top out around 80 to 100 lb cover, and letterpress or duplex luxury suites can climb past 200 lb. Order samples before you commit, and always confirm your printer’s spec sheet first.
TL;DR:
- The standard cardstock weight for main wedding invitations is 110 to 120 pounds cover, which balances durability, stability, and print quality.
- Printing method significantly influences the ideal cardstock weight; digital printing suits 100 to 110 pounds, while letterpress and engraving require 110 to 220 pounds.
- Scoring is essential for folding heavy cardstock smoothly to prevent cracking, especially above 110 pounds, and grain direction must be checked for best results.
- Lighter inserts, between 80 and 100 pounds, help reduce overall suite weight and postage costs, which vary depending on the final assembled package.
- Always order samples and conduct tests on actual stock, folding, and postage to avoid surprises and ensure print quality and mailability.
Table of Contents
- What weight should each piece in your suite be?
- Does printing method change the ideal weight?
- Why does scoring matter for heavier cardstock?
- How does cardstock weight affect your postage costs?
- What should you test before printing the full order?
- How do paper texture and finish affect the final feel?
- What we’ve learned from years of invitation orders
- See how weight and finish look on a finished card
- Sources
What weight should each piece in your suite be?
You don’t need to pick one weight for your entire suite. Smart couples treat each piece differently, matching heft to function.
The main invitation card is where you spend your weight budget. A 110 to 120 lb cover (about 300 to 350 gsm) is the industry standard for good reason. It holds its shape when a guest pulls it from the envelope, resists bending in transit, and gives that reassuring snap when someone flips it over.
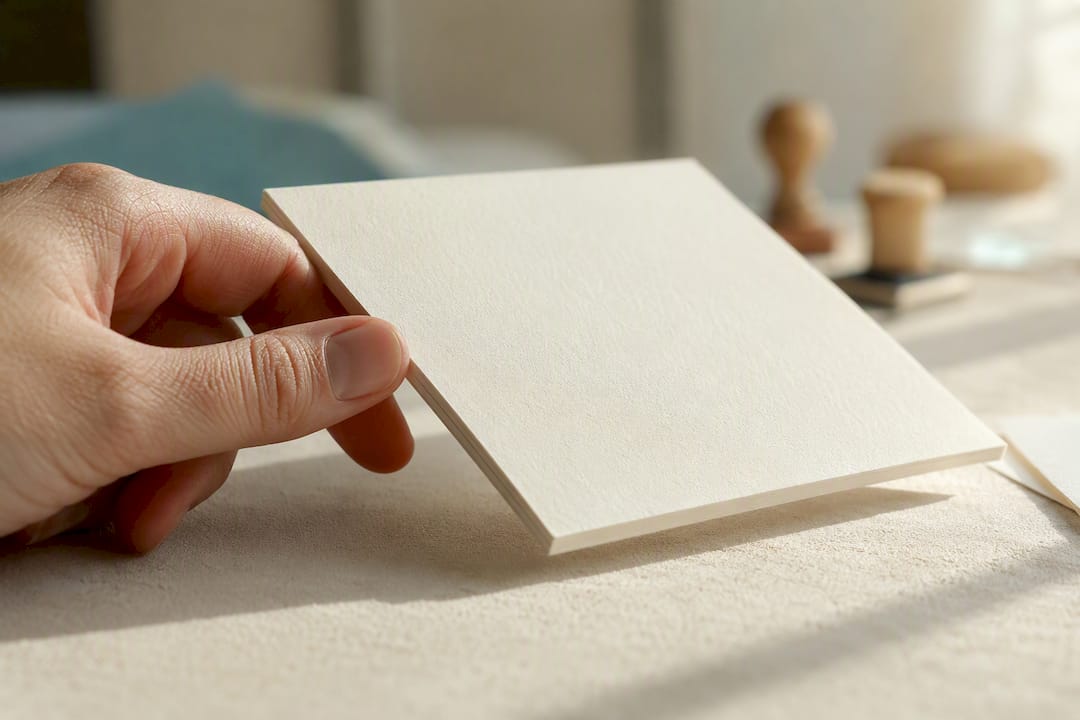
Enclosures work differently. RSVP cards, reception cards, and detail cards get handled less and mailed back by the guest, often in a smaller, thinner envelope you’ve already stamped. Dropping these to a lighter stock isn’t a compromise; it’s a strategy that keeps your total suite weight and thickness under control.
Here’s how the pieces typically break down:
- Main invitation: a heavyweight cardstock between 110 and 120 lb cover, roughly 300 to 350 gsm, is the reliable sweet spot for most couples.
- Home-printing option: 80 to 100 lb cover keeps you within the safe range for most inkjet and laser printers.
- Luxe single-panel statement cards: 130 lb cover, or a duplex build around 220 lb, for suites meant to feel more like a keepsake than a mailer.
- RSVP cards and inserts: lighter than your main card, both to save on postage and because a smaller card doesn’t need the same rigidity.
That tiered approach, heaviest at the main card and lighter at the edges, is how professional stationers keep a suite feeling cohesive without making it feel like a brick in the mailbox.
Does printing method change the ideal weight?
Yes, and this is where a lot of DIY orders go wrong. The printing method you choose isn’t just about how the ink looks; it determines which weights will actually run through the equipment and which will hold the impression you’re paying for.
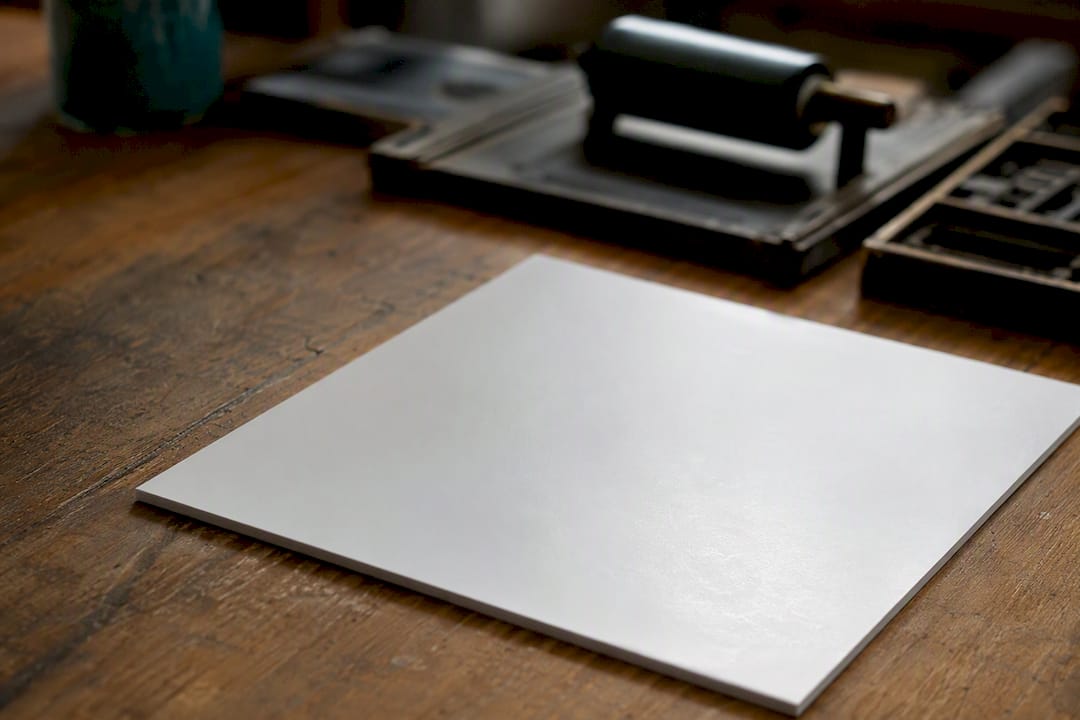
Digital and flat printing work best on smooth stock in the 100 to 110 lb cover range. It’s thick enough to feel intentional, but light enough that most commercial digital presses handle it without jamming or misfeeding.
Letterpress, foil stamping, and engraving are different animals entirely. These methods physically press or stamp into the paper, so cotton or other soft, absorbent stocks in the 110 to 220 lb cover range are typically required to hold a clean, deep impression without tearing through the sheet.
If you’re printing at home, cap your ambitions at 80 to 100 lb cover. Anything heavier and you risk jamming a standard inkjet or laser printer, since most consumer machines aren’t rated for thicker stock without manual feed trays.
- Digital/flat printing: 100 to 110 lb cover, smooth finish
- Letterpress, foil, engraving: 110 to 220 lb cover, cotton or soft stock
- Home printers: 80 to 100 lb cover maximum, test the manual feed tray first
Pro Tip: Before you order a single sheet, ask your printer for a press specification sheet and a physical proof. A quick phone call can save you from discovering, mid-print-run, that your chosen weight jams their equipment.
Why does scoring matter for heavier cardstock?
Fold a piece of 120 lb cover without scoring it first, and you’ll get a crease that cracks along the fold line instead of bending cleanly. This happens because thick stock has more fiber to compress, and asking it to bend without a guide creates stress that the paper can’t absorb evenly.
Scoring becomes necessary once you’re working with 110 lb cover or heavier. Here’s the sequence that avoids cracked folds:
- Score the fold line first, using a bone folder or a dedicated scoring tool rather than eyeballing a crease.
- Fold along the scored line, pressing firmly with the bone folder to set a crisp edge.
- Check grain direction before you print. Paper folds cleanest when the grain runs parallel to the fold; folding against the grain on heavy stock is a common cause of cracking.
- Specify grain direction on your order if you’re working with a print shop, since not every supplier defaults to grain-parallel cuts.
If folding heavy stock sounds like more trouble than it’s worth, you have an easy alternative. Mount a printed, lighter sheet onto a heavier backer card instead. You get the same substantial presence without ever having to fold thick paper at all.
Pro Tip: Test your scoring and fold on a scrap sheet of the exact stock and weight you plan to order. Grain direction isn’t always visible to the eye, but it’s obvious the moment you try to fold against it.
How does cardstock weight affect your postage costs?
Every embellishment adds up on a postal scale, and heavier stock is usually the biggest contributor. A wax seal, a layer of vellum, a ribbon wrap, and a heavyweight main card can push a single envelope over a standard postage threshold before you’ve even counted the RSVP insert.
There’s no universal formula here, because pricing depends on your specific mail carrier’s weight and thickness brackets. The rule that actually works: assemble one complete sample suite exactly as you plan to mail it, then weigh it and bring it to your local post office for a firm rate check.
A few practical habits keep postage predictable:
- Use lighter-weight inserts (80 to 100 lb cover) for RSVP and detail cards rather than matching your main card’s heft.
- Skip bulky add-ons like wax seals if your suite is already near a weight threshold.
- Read InvitationBox’s wedding invitation postage guide before finalizing your paper choices, since it walks through how thickness and embellishments move your suite between rate brackets.
- Reconfirm postage after any late change, since swapping a ribbon or adding a backer card can shift your suite into a new bracket without you realizing it.
Guessing at postage is one of the most common, and most avoidable, mistakes in wedding stationery.
What should you test before printing the full order?
Skipping the sample stage is how couples end up with a beautiful design on the wrong paper. A structured test run catches problems while they’re still cheap to fix.
Work through this checklist before you approve a full print run:
- Order sample sheets in the exact weight and finish you’re considering, not a close approximation.
- Print a home proof if your method allows it, or request a press proof from your printer if you’re using letterpress, foil, or engraving.
- Fold and score a sample to confirm the crease holds cleanly and the grain direction is correct.
- Check that your chosen envelope actually fits the folded or flat card without forcing it.
- Assemble a full sample suite, weigh it, and confirm expected postage.
- Look closely at how ink, foil, or metallic elements render on that specific stock, since absorption and finish can vary even between papers of the same weight.
| Test step | What it confirms |
|---|---|
| Sample sheet order | True weight, texture, and color under real light |
| Home or press proof | Ink absorption and print clarity |
| Fold and score test | Clean crease, correct grain direction |
| Envelope fit check | No forcing, tearing, or awkward bulk |
| Assembled weigh-in | Accurate postage bracket |
Skipping any one of these steps is how a gorgeous digital mockup turns into a disappointing printed reality.
How do paper texture and finish affect the final feel?
Two stocks at the identical weight can feel completely different once you factor in fiber and finish. This is where a lot of the “which weight is right” confusion actually starts, because weight is only half the story.
Cotton stock is the standard choice for letterpress and engraving. It compresses softly under pressure, which is exactly what lets those methods create a deep, clean impression, and it gives your finished card a soft, substantial hand that coated paper can’t quite match.
Smooth coated stock is the better partner for digital printing and foil work. It holds crisp lines and vivid color without the ink bleeding into the fibers the way it can on more absorbent cotton.
Linen and felt-textured papers add visible tooth to the surface. That texture reads as heavier and more formal even when the actual weight matches a smooth sheet, which is a useful trick if you want a luxe feel without stepping up to an unwieldy weight.
Vellum belongs in a different category entirely. It’s a decorative overlay, not a structural material, so pair it with a lighter or mid-weight backing rather than expecting it to carry the card on its own.
- Cotton: soft hand, ideal for letterpress and engraving
- Smooth coated: crisp lines, ideal for digital and foil
- Linen/felt: adds texture that reads heavier than its actual weight
- Vellum: decorative only, always needs a backing card
What we’ve learned from years of invitation orders
Couples almost always overthink the weight number and underthink the testing process. A 120 lb cover card from one mill can feel completely different from a 120 lb card from another, because fiber content and finish do as much work as the number on the spec sheet.
That’s why Invitationbox pushes every customer toward sample kits before a full order, an approach backed by the broader consensus that physical testing catches problems no spec sheet can. Our shop has spent years refining production around real weight, real folds, and real postage, including embossing and Snap Stamp customization that depend on knowing exactly how a given stock behaves under pressure.
If there’s one number worth remembering from all of this, it’s 110 to 120 lb cover for your main card, paired with lighter inserts to keep your suite mailable. Everything else, cotton versus coated, letterpress versus digital, is a refinement on that foundation, not a replacement for it.
— Jon
See how weight and finish look on a finished card
Numbers on a spec sheet only tell you so much. Seeing a finished piece, like the Filigree Dress Pink Thank You Cards, shows you exactly how a given weight and finish translate into something you’d actually want to hold and mail.
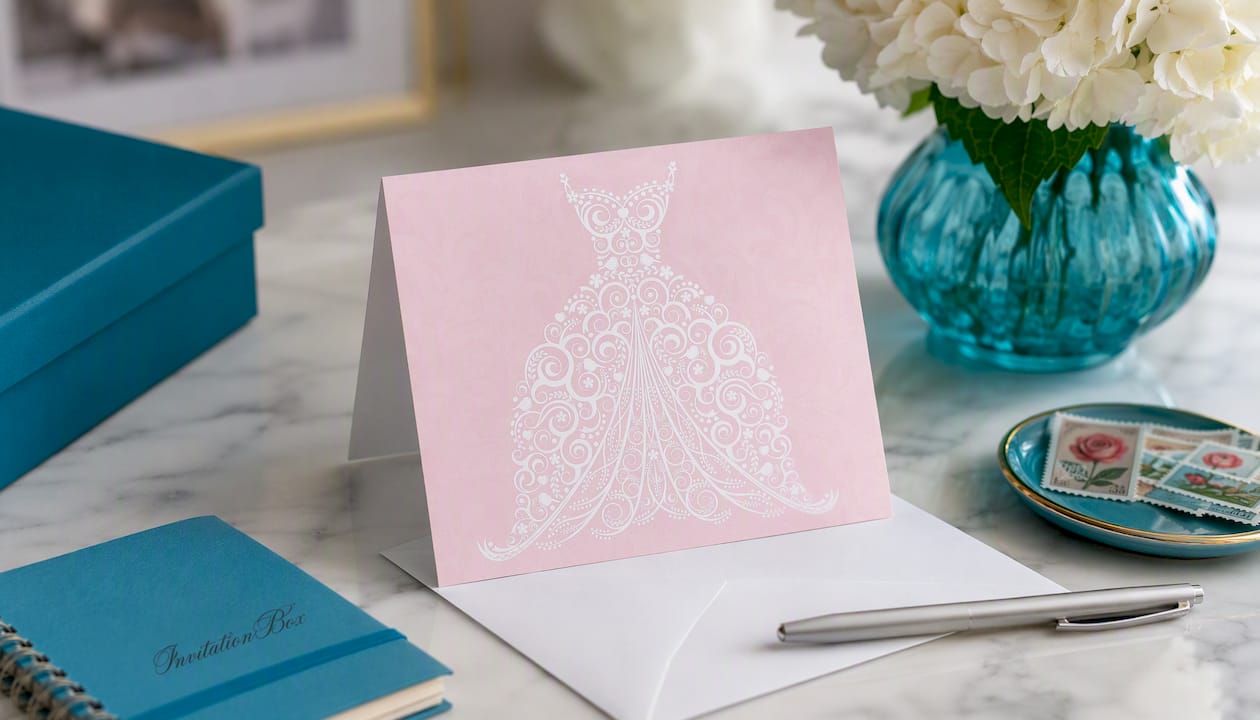
That’s the real advantage Invitationbox offers over guessing from a supplier’s spec chart alone: you can request a sample kit or a proof before committing to a full production run, so you know precisely how your paper will fold, print, and feel in an envelope. Whether you’re finalizing a main invitation or coordinating matching thank-you cards for after the big day, ordering a proof first removes the uncertainty that spec sheets alone can’t resolve. Browse the thank you card collection and request your sample kit before you lock in your final order.
Sources
- Theperfectwedding
- 4 Steps to the Best Paper Weight for Wedding Invitations | LCI Paper
- Scoring paper for beginners | Vaessen Creative