

Can You Refill a Self-Inking Stamp? Yes, and It's Easy
Yes — most self-inking stamps with felt pads can be safely refilled, and doing it right takes about two minutes. The single most important rule is this: use water-based stamp ink made for self-inking stamps, not the oil-based kind meant for pre-inked stamps. Mixing that up is the fastest way to ruin a felt pad.
Here’s the quick version before we walk through it slowly:
- Confirm your stamp has a felt pad (not a solid pre-inked die).
- Pop open or access the pad, and add a few drops of water-based ink.
- Let it sit for a minute, then test on scrap paper.
Pro Tip: If you’re not sure which ink your stamp needs, check the product page or bottle for the words “self-inking” or “stamp pad.” Any bottle labeled for pre-inked or flash stamps uses oil-based ink, and that’s the wrong choice for a felt pad.
Key Takeaways
Most self-inking stamps with felt pads can be refilled safely using a few drops of water-based ink, while pre-inked stamps require a different oil-based formula entirely.
| Point | Details |
|---|---|
| Confirm your stamp type | Felt-pad self-inking stamps take water-based ink; pre-inked stamps need oil-based ink. |
| Dose in small increments | Start with 5 to 15 drops depending on stamp size, then test before adding more. |
| Fix over-inking with blotting | Press onto paper towels repeatedly, resting between attempts, then retest. |
| Replace, don’t refill, worn pads | Cracked, crumbly, or persistently patchy felt needs a new pad, not more ink. |
| Shop Invitationbox for Snap Stamp refills | Red, Brown, and Black refills are formulated for felt-pad self-inking stamps like the Snap Stamp. |
Table of Contents
- Self Inking Stamp Refill: How to Tell What Ink Your Stamp Needs
- How to Refill a Self-Inking Stamp Step by Step
- How to Replace a Self-Inking Stamp Pad
- Why Is My Stamp Impression Fading or Blotchy?
- Where to Buy Self-Inking Stamp Ink Refills
- Who Makes InvitationBox’s Snap Stamp Refills?
- Get the Right Refill Ink for Your Snap Stamp
Self Inking Stamp Refill: How to Tell What Ink Your Stamp Needs
Before you buy a self inking stamp refill, figure out which of the two main stamp families you actually own. It changes everything about which bottle you should reach for.
Self-inking stamps have a felt or foam pad hidden inside the mechanism. Press the stamp down, and it rocks the die across that pad before stamping. Over time, the felt dries out and needs more ink, which is exactly what makes these stamps refillable in the first place. Our guide to how self-inking stampers work breaks down that rocking mechanism in more detail if you want the mechanics.
Pre-inked stamps, by contrast, have ink embedded directly into a dense polymer die. There’s no felt pad to saturate. When they run low, they need oil-based ink dripped or absorbed into the die itself, and that ink chemistry is completely different from what a felt pad wants.
Here’s why the distinction matters so much: oil-based ink breaks down felt fibers and leaves a greasy residue that won’t dry properly, while water-based ink evaporates cleanly and keeps the felt pliable. Stamp-Connection’s oil-based refill listing states plainly that its formula is intended for pre-inked stamps only, and using it in a self-inking felt pad risks clogging or damaging the unit.
A few label cues make the choice easier:
- Look for “for self-inking stamps and stamp pads” on the bottle or product page.
- A safety data sheet (SDS) link on the product page is a good sign the manufacturer takes formulation seriously — check it if you have sensitive skin or ventilation concerns.
- Bottles with a fine needle-tip applicator are built for controlled drop-by-drop dosing, while wider tips are usually meant for saturating traditional stamp pads rather than precision refilling.
The 2000 PLUS refill line is a good reference point here: it’s sold in a 0.9-ounce bottle with an applicator tip specifically built for neat, controlled dosing into felt pads.
How to Refill a Self-Inking Stamp Step by Step
Once you’ve confirmed you have a felt-pad stamp and a water-based ink refill in hand, the actual process is fast. Here’s what to gather first: your ink bottle, a pair of gloves if you’d rather not stain your fingers, a sheet of scrap paper, and a paper towel for cleanup.
- Lock the stamp in its resting position, following your model’s release lever or button (most self-inking stamps have one).
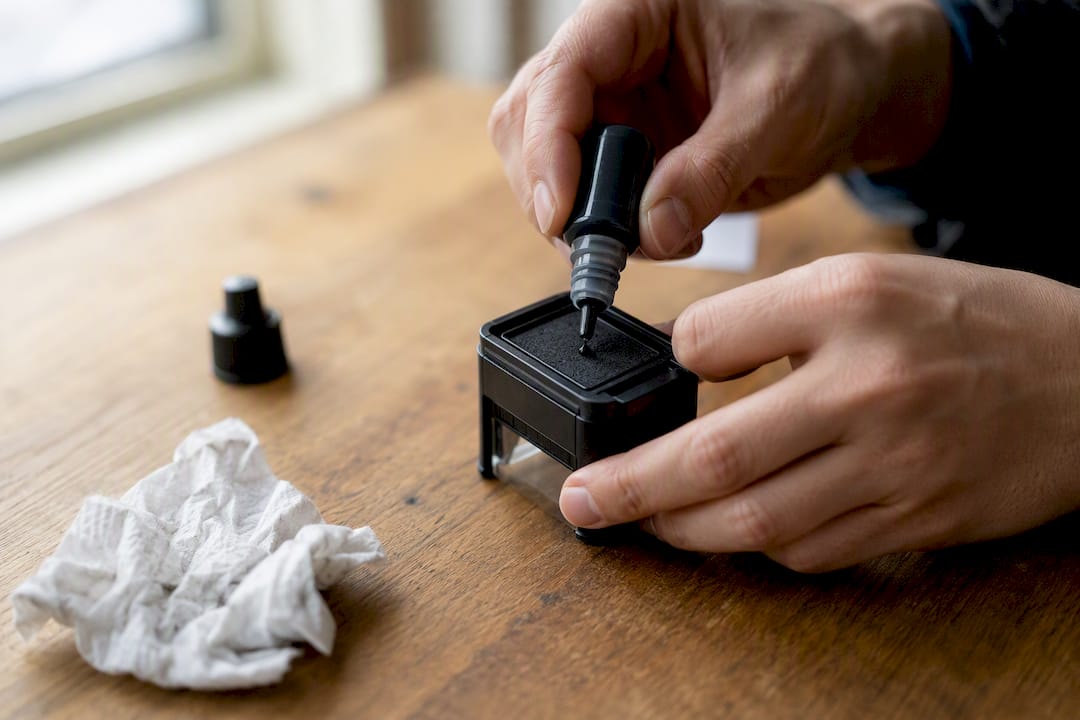
- Access the pad. Depending on the design, this means flipping the stamp over to expose the felt pad through a small window, or lifting a removable pad cassette out entirely.
- Add ink in small amounts. For a small stamp (return address size), start with 5 to 8 drops. Medium stamps (standard “Approved” or signature stamps) usually take 8 to 15 drops. Larger stamps or heavily used pads may need more, applied gradually.
- Wait 60 to 120 seconds. This gives the ink time to spread through the felt fibers instead of pooling on the surface.
- Test on scrap paper. Press firmly and evenly, then check the impression for full, even coverage.
- Add more ink incrementally if the impression looks light or patchy, testing again after each small addition.
Product pages for refills like Cosco’s 2000 PLUS formula describe the ink as water-based and quick-drying, which is exactly the profile you want for this kind of incremental dosing. Add a little, test, add a little more. Flooding the pad all at once is the single most common mistake people make, and it’s the one that causes the blotchy, smeared impressions everyone complains about.
If you do over-ink, don’t panic. Press the stamp onto a stack of paper towels several times to draw off the excess, then test again on scrap paper. Repeat until the impression looks clean rather than saturated. Give the stamp a few minutes to rest between blotting attempts. The felt needs a moment to redistribute what’s left inside it.
For stamps that see heavy daily use, like a date stamp or an “approved” stamp on an office desk, a small bottle from a brand like 2000 PLUS can support many refills before it runs dry, since each session only calls for a handful of drops.
How to Replace a Self-Inking Stamp Pad
Sometimes re-inking doesn’t fix the problem, and that’s your signal to replace the pad instead of adding more ink to a lost cause.
- Release the stamp using the same lock mechanism you’d use for refilling.
- Remove the old pad, which usually lifts out as a small cassette or snaps free from a mounting clip. Most designs are built for tool-free removal.
- Seat the new pad in the same orientation as the old one, pressing until it clicks or sits flush.
- Test the alignment with a stamp on scrap paper before returning the unit to regular use.
A few signs tell you it’s time for a new pad rather than another refill:
- The felt has become stiff, cracked, or crumbly at the edges (fiber breakdown that ink can’t reverse).
- You’ve refilled it two or three times recently and the impression is still patchy in the same spots.
- The pad has visible tears or has pulled away from its backing.
If you’re switching ink colors entirely, say from black to brown for a signature stamp, don’t just add the new color to an old pad. Residual ink will muddy the new shade for several impressions. Either flush the pad thoroughly with a few dry stamps onto scrap paper until the old color fades, or swap in a fresh pad in the new color outright. Our stamp ink pad guide covers pad options if you’re shopping for replacements.
Why Is My Stamp Impression Fading or Blotchy?
Most stamp problems trace back to one of three causes, and each one has a fast fix.
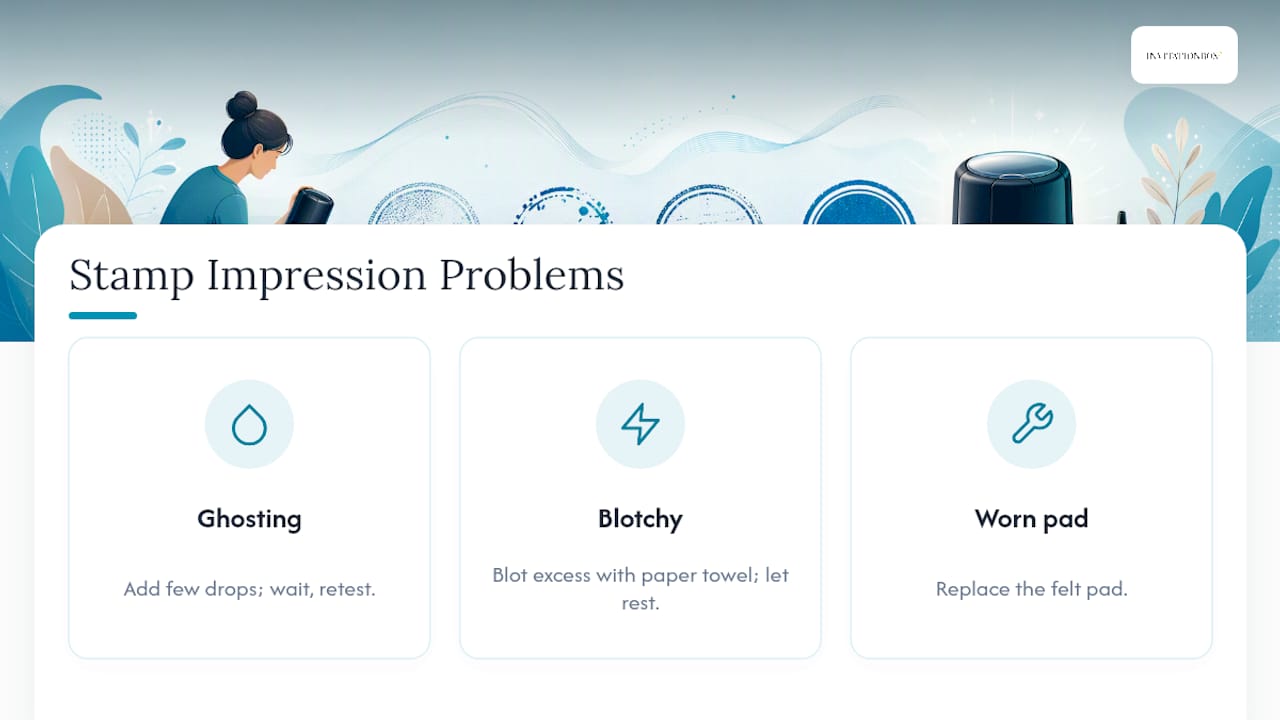
Ghosting (a faint, incomplete impression) almost always means the pad is under-inked. Add a small number of drops, wait, and retest before adding more.
Blotchy or smeared impressions point to over-inking. Blot the excess with paper towels and let the pad rest before trying again.
Patchy impressions that won’t improve with either more ink or blotting usually mean the felt itself has worn out. At that point, replacing the pad is the right call rather than continuing to add ink.
For storage, keep stamps capped when not in use, away from direct sunlight and away from extreme heat, which dries out felt pads faster than normal use does. A closed desk drawer at room temperature is about as good as it gets.
Pro Tip: If a stamp has sat unused for months and produces nothing at all, don’t assume it’s dead. Add a few drops, wait a full two minutes instead of one, and test again. Dried-out felt sometimes just needs extra time to reabsorb.
Where to Buy Self-Inking Stamp Ink Refills
Refill ink is widely available, but not every bottle on a shelf is built for your stamp. Office supply retailers and marketplaces like Amazon carry dozens of SKUs from brands like 2000 PLUS and Xstamper, with prices and bottle sizes varying quite a bit.
Bottle sizes typically run from around 0.9 ounces up to larger 60 ml bottles, like the one Xstamper sells for its own stamp line. Since a single refill session usually only needs a handful of drops, even a small bottle can last through many refills over the life of a stamp.
Before adding anything to your cart, run through this checklist:
- Does the label say “for self-inking stamps” or “stamp pads,” not “pre-inked” or “flash”?
- Is it explicitly water-based?
- Does it come with a tip applicator for controlled dosing rather than a wide-mouth pour spout?
- Is there an SDS linked on the product page for safety reference?
Color selection matters too. Retailers commonly stock black, blue, red, green, and brown, with some offering quick-dry variants for high-volume use. Invitationbox’s Snap Stamp refills are formulated specifically for felt-pad self-inking stamps and cover the most requested colors, which we’ll walk through shortly.
Who Makes InvitationBox’s Snap Stamp Refills?
Invitationbox has been building personalized stationery and stamps for over 19 years, and the Snap Stamp is its own proprietary self-inking stamp design, engineered in-house rather than licensed from another manufacturer. That matters when you’re refilling, because Snap Stamp’s felt pads are built to a known formulation, so the compatible refill ink is equally well understood.
A stamp is only as good as its next impression. Refill ink formulated for the exact pad it’s going into is what keeps that impression consistent stamp after stamp, not just once but for years of use.
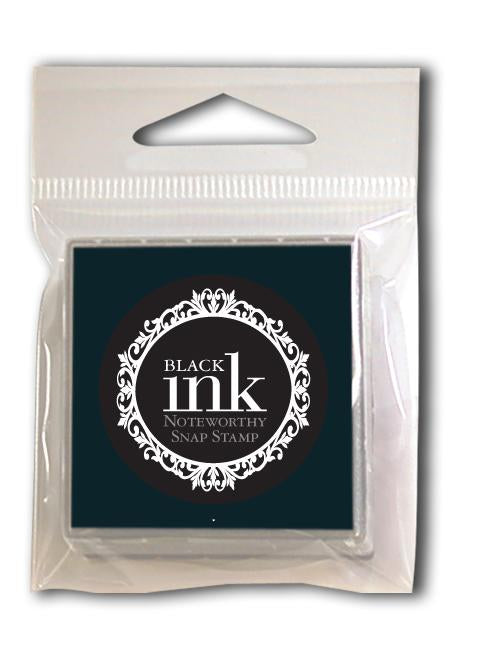
- Refill ink is available in Red, Brown, and Black, all formulated for felt-pad self-inking stamps like the Snap Stamp.
- Product instructions and any relevant safety information are listed directly on each product page.
- Our own how-to library covers the mechanics behind these stamps in more depth for anyone curious about the engineering.
When to refill versus when to replace
Refilling is almost always the faster, cheaper move, and it’s the right first step nine times out of ten. A few drops of ink costs pennies and takes two minutes, while a new pad or a new stamp costs more and takes longer to arrive. Reach for a replacement pad only when the felt itself has broken down. I’ve found the old office rule holds up well: if a stamp has been refilled twice with no real improvement, stop refilling and swap the pad. It’s also the more resourceful choice environmentally, since one small bottle of ink keeps a stamp in service far longer than replacing the whole unit ever would.
— Jon
Get the Right Refill Ink for Your Snap Stamp
Skip the guesswork of matching a random bottle to your stamp. Invitationbox makes Snap Stamp ink pad refills in the exact colors most people reach for, formulated specifically for felt-pad self-inking stamps rather than general-purpose stamp pads.

The Red Snap Stamper Ink Pad Refill is a strong pick for accent stamps, holiday cards, or anything that needs a warm pop of color. The Brown Snap Stamper Ink Pad Refill suits rustic invitations, kraft paper projects, and vintage-style stationery where black feels too stark. The Black Snap Stamper Ink Pad Refill covers the everyday workhorse use case: return addresses, signatures, and office paperwork.
All three are water-based and built for the Snap Stamp’s felt pad, and they work in many other felt-pad self-inking stamps too. Pick your color, add it to your cart, and give your stamp a fresh start today.