

Assemble 150 Wedding Invitations Fast and Avoid Postage Surprises
The correct order is: gather every piece first, stack your main invitation face up on the bottom, layer enclosures on top by size with the RSVP card and envelope last, add any ribbon or vellum, then slide the whole packet into your envelope with the printed side facing the flap. Seal, weigh, and add postage. Set aside a couple of relaxed hours, or turn it into a small assembly line with helpers if your guest list is large.
TL;DR:
- The assembly order is crucial, with the main invitation at the bottom and the RSVP envelope on top to ensure proper guest experience.
- Decorative additions like ribbons, vellum, and wax seals can add visual appeal but may increase envelope thickness and postage costs.
- Weigh your test invitation before mailing to avoid unexpected extra postage, especially if including thick or layered elements.
- Use a well-organized, helper-supported assembly line, and create a sample first to identify sizing or postage issues before mass production.
- The outer envelope must be sealed, correctly addressed, and weighed to ensure proper delivery, with additional care taken for square or heavy invitations.
Table of Contents
- How Do You Assemble Wedding Invitations? Gather Your Materials First
- Setting Up an Efficient Assembly Station
- What Is the Correct Wedding Invitation Assembly Order?
- How to Add Ribbon, Vellum, and Wax Seals Without Causing Mailing Problems
- Sealing, Addressing, and Postage: What to Check Before You Mail
- How Long Does It Take to Assemble Wedding Invitations?
- Why Trust This Wedding Invitation Assembly Guide
- Make Invitation Assembly a Shared Occasion, Not a Chore
- Finish Your Suite With a Custom Stamper or Embosser
- Sources
- FAQ
How Do You Assemble Wedding Invitations? Gather Your Materials First
Before you touch a single envelope, lay out every piece of your suite so you can see exactly what you’re working with. Missing one component halfway through a stack of 150 invitations is how evenings get long and tempers get short.
Core stationery:
- Main invitation card
- Reception or details card (if separate)
- RSVP card and RSVP envelope
- Inner envelope (optional, but common for formal suites) and outer mailing envelope
Adhesives and tools:
- Double-sided tape or glue dots (a glue stick or dampened sponge works for stamps)
- Ruler and a corner aligner for straight stacking
- Clear stickers for belly bands, plus small scissors
- A postal scale, or a plan to weigh a sample at the post office
Decorative and addressing items:
- Vellum jacket, belly band, or ribbon
- Wax seals, if you’re using them, plus their mail-safe alternative
- A self-inking stamp or printed return address labels
If you’re still deciding what belongs in the suite itself, it helps to review what to include in a wedding invitation package before you order enough of everything.
Setting Up an Efficient Assembly Station
Clear a large table, wipe it down, and keep drinks and snacks on a separate surface. A single ink smudge on a $3 card is an annoying way to lose money.
- Sort each component into its own labeled stack, arranged in the order you’ll grab them.
- Reserve one end of the table as the “finished and ready to seal” zone so completed suites don’t get mixed with works in progress.
- If you have helpers, assign one task per person: stacking, tucking into envelopes, sealing, or stamping.
- Build one complete sample invitation before you touch the rest of the stack.
Stationers consistently recommend this test run because it catches sizing, orientation, and postage problems before you’ve committed an entire batch of envelopes. It also tells you, immediately, whether your chosen envelope size actually fits everything comfortably.
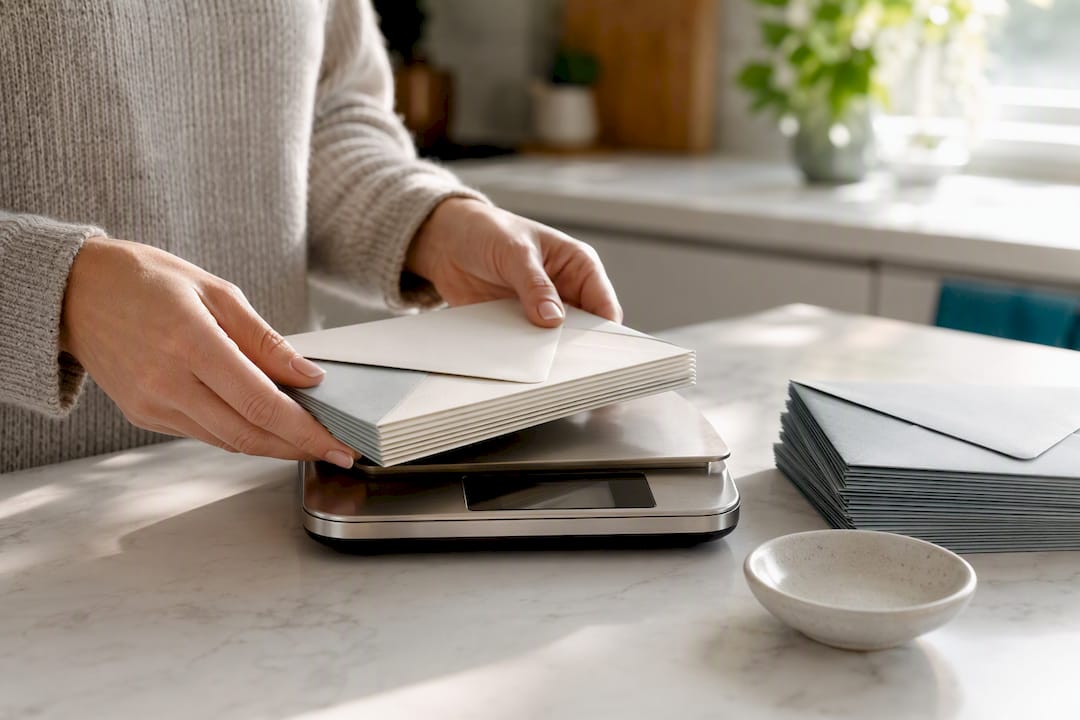
Pro Tip: Weigh your test invitation on a kitchen scale before you head to the post office. If it’s close to an ounce, decorative extras like vellum or a wax seal will likely push it into extra-postage territory.
What Is the Correct Wedding Invitation Assembly Order?
Once your test suite passes inspection, the actual stacking follows a fixed logic: biggest and most important on the bottom, smallest and most time-sensitive on top.
Without an inner envelope:
- Place the main invitation face up as your base layer. This is the card every guest should see first.
- Add your reception or details card next, followed by any other enclosures, largest to smallest.
- Place the RSVP envelope on top of the stack, with the RSVP card tucked under its flap so it’s the very first thing a guest notices.
- Slide the completed stack into the outer envelope with the printed side facing the back flap, so it reads correctly the moment it’s opened.
This order isn’t arbitrary. Standard invitation etiquette places the main card on the bottom specifically so the invitation itself, not a reception card or a return envelope, is what a guest sees first when they open the flap. And keeping the RSVP envelope on top with the card tucked underneath means guests never have to dig for the piece they actually need to act on.
With an inner envelope: The stacking order stays identical. The difference is what happens next. Insert your assembled packet into the inner envelope with the printed side facing the inner envelope’s flap. Then slip the inner envelope into the outer one, unsealed, positioned so that when the outer flap opens, the guest’s name on the inner envelope is the first thing visible.
Orientation matters by card shape. Folded invitations go in folded edge first. Flat, single-panel invitations go in left edge first. In both cases, the goal is the same: when the recipient lifts the flap, the printed wording faces them right side up, with nothing upside down or backward.
If you’re deciding whether a paper RSVP card even belongs in your suite versus an online RSVP option, settle that before your assembly session. It changes your stack height and your postage math.
How to Add Ribbon, Vellum, and Wax Seals Without Causing Mailing Problems
Decorative touches are where DIY suites go from nice to memorable, but they’re also where postage surprises happen most often.
- Belly bands and ribbon: Wrap around the finished stack, not individual cards, and fasten with a small clear sticker or a dot of glue rather than a bulky knot. A thick bow adds charm on Pinterest and adds bulk your envelope has to accommodate.
- Vellum: Usually sits as a translucent overlay across the entire front of the invitation, held with the belly band, rather than sandwiched between individual cards.
- Wax seals: Keep the seal thin, under about 1/8 inch, or use a pre-made adhesive wax seal instead of pouring your own. A thick, hand-poured seal can crack in transit or catch in postal sorting equipment.
Extra decorative layers often look wonderful in photos, but every one adds thickness, and thickness is exactly what pushes an invitation into extra-postage territory or flags it for hand-canceling. If your finished suite feels noticeably thicker or lumpier than a standard greeting card, plan to weigh it before you buy a single stamp.
Sealing, Addressing, and Postage: What to Check Before You Mail
Seal your inner envelope only if you’re using one for presentation. It typically stays unsealed for guest name visibility. The outer envelope, on the other hand, always gets sealed before it goes in the mail.
- Addressing: The inner envelope carries the names of exactly who’s invited, first names or titles only, while the outer envelope carries the full mailing address. Etiquette experts note that inner and outer envelopes serve distinct purposes, and mixing them up is one of the more common formal-invitation mistakes.
- Proofread twice: Check spelling of names, street addresses, and titles before you seal anything. A sealed envelope with a misspelled name is a redo, not a fix.
- Weigh before you buy stamps: Take one fully assembled, sealed sample to the post office or set it on a home postal scale.
Square envelopes, heavy cardstock, and anything over one ounce typically require additional postage beyond a standard first-class stamp.
If your suite includes a square envelope, layered enclosures, or wax seals, ask your post office clerk about hand-canceling to protect delicate elements from the machine sorter. And when you’re ready to buy stamps, the USPS wedding-themed stamp collection is worth checking before your assembly day, since availability shifts. For a fuller breakdown of what pushes a suite into extra postage, see this guide on wedding invitation postage rates.
How Long Does It Take to Assemble Wedding Invitations?
A single, simple suite (invitation, RSVP, one enclosure) usually takes a minute or two once you’re in a rhythm. Multiply that by your guest count and you’ll see why 150 invitations easily fill an evening solo, but shrink to an hour or two with three or four helpers on an assembly line.
- Assign roles: one person stacks, one inserts into envelopes, one seals, one addresses or stamps.
- Save stamping for last, and ideally let just one person handle it, since a shaky hand on a self-inking stamp is easier to fix before ink hits 140 envelopes instead of after.
- Before sealing the final envelope, run through a quick checklist: printed side visible when opened, RSVP card included and correctly placed, no loose enclosures sliding around, and your weighed sample matches what you’ve applied in postage.
Treating this as a shared production task, not a solitary chore, is genuinely the difference between a stressful Tuesday and a good one.
Why Trust This Wedding Invitation Assembly Guide
A company specializing in personalized stationery offers self-inking Snap Stamps, tools many couples use specifically to speed up addressing large invitation batches. This guide draws on that hands-on product experience alongside author Jon’s coverage of DIY wedding stationery projects, cross-checked against postage and etiquette standards from The Knot, Brides, and Emily Post. The recommendations here reflect what actually holds up once ink, wax, and postal scales get involved.
Make Invitation Assembly a Shared Occasion, Not a Chore
Here’s my honest take: the couples who enjoy this process most turn it into an event, not a task. Put on music, invite your bridal party over, assign roles, and treat it like a low-key gathering rather than solo homework.
Be realistic about fragile finishes, too. A hand-poured wax seal is gorgeous for invitations you’re handing out in person, but it’s a liability in the mail. Save the delicate stuff for what won’t ride through a sorting machine, and let a good stamp or embosser handle the addressing so your energy goes toward the parts that actually show.
— Jon
Finish Your Suite With a Custom Stamper or Embosser
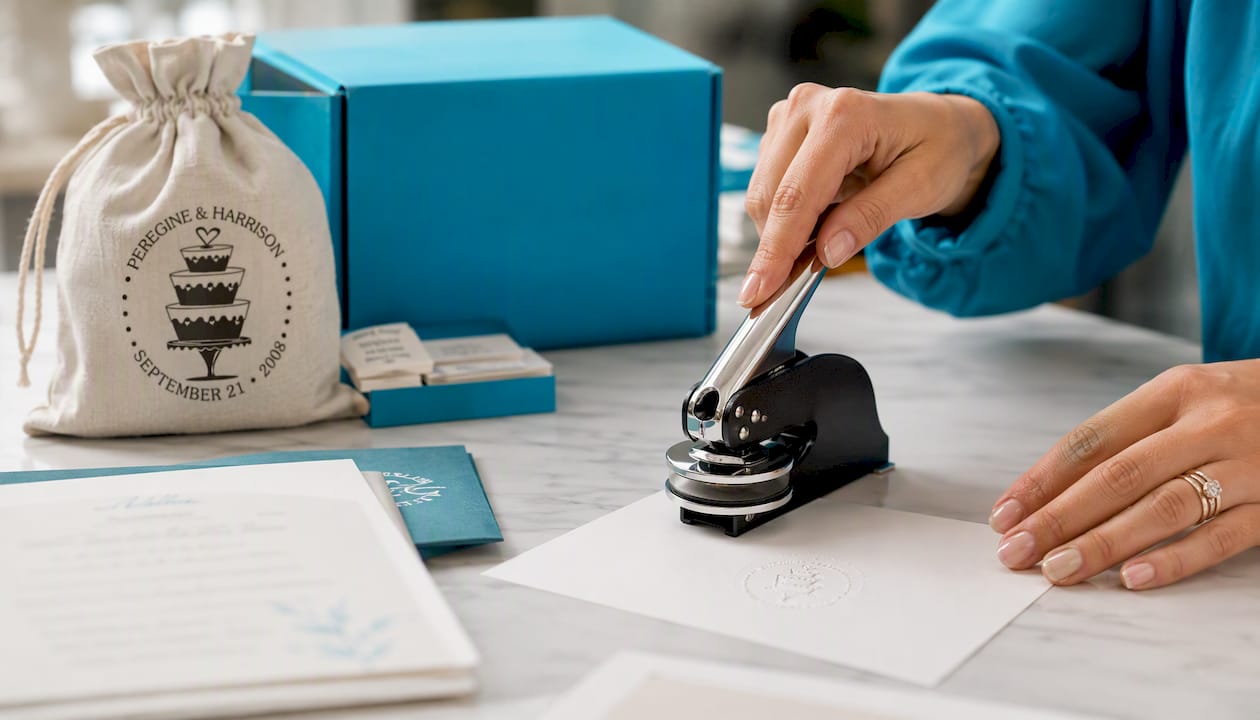
Addressing 100+ envelopes by hand is where DIY assembly usually loses its charm. A Wedding Cake Stamper or Embosser from Invitationbox turns that repetitive task into a five-second stamp per envelope, and it doubles as a decorative touch on return address flaps, favor tags, or thank-you notes later. It’s a small tool that solves a real bottleneck in the exact assembly-line process this guide walks through.
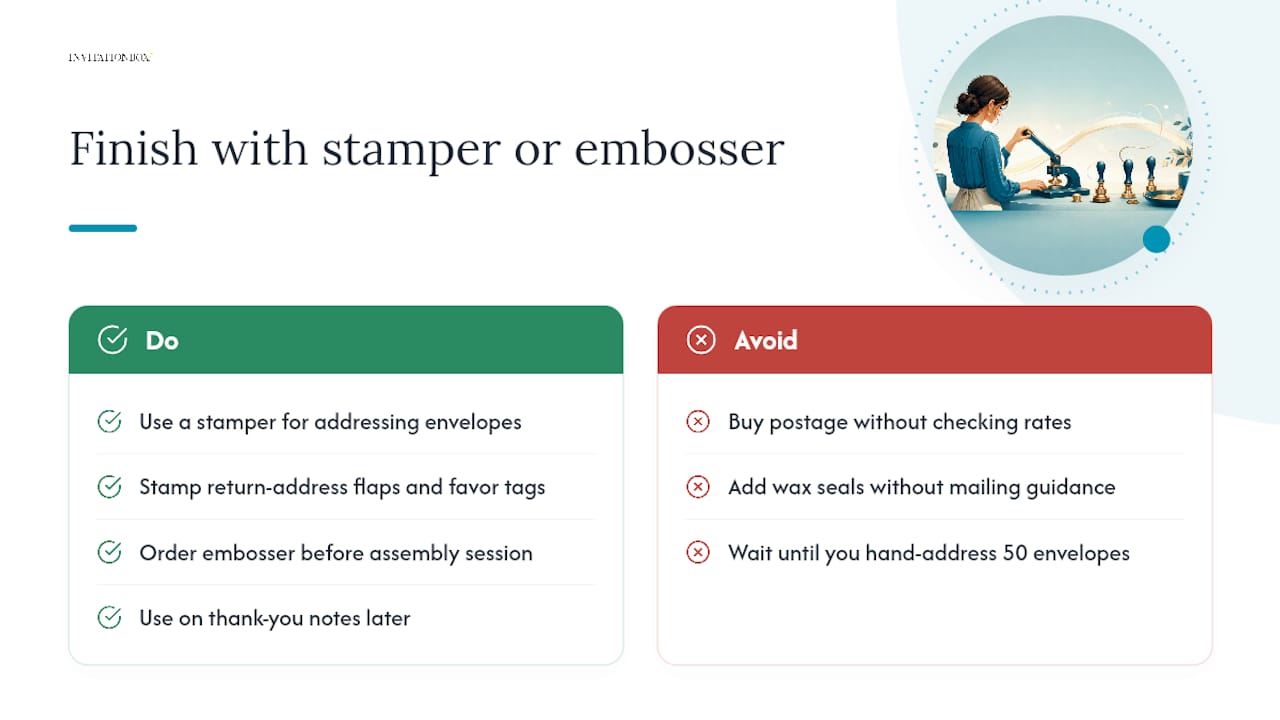
Before you buy stamps for the whole batch, check our guide to wedding invitation postage rates so you know what extra weight from wax seals or vellum will cost you, and if seals are part of your design, read our notes on mailing wax seals safely first. Order your embosser or stamper now so it’s on hand before your assembly session, not after you’ve already hand-addressed the first fifty.
Sources
- How to assemble wedding invitations
- How to assemble your wedding invitations and stuff your envelopes like a pro
- How to Stuff Wedding Invitations: A Step-by-Step Guide for Correct Assembly
- Addressing & sending wedding invitations
FAQ
How Far in Advance Should Wedding Invitations Be Sent Out?
Most couples mail invitations several weeks before the wedding, with destination weddings typically requiring more lead time so guests have time to arrange travel.
Is It Cheaper to Assemble Your Own Wedding Invitations?
Assembling your own suite typically saves money compared to paying a stationer or planner for full assembly, though the actual printed cards, envelopes, and postage cost the same either way. Our wedding invitation cost guide breaks down where DIY assembly actually saves versus where it doesn’t.
How Do You Properly Stack Wedding Invitations?
Stack the main invitation on the bottom, enclosures on top in descending size order, and the RSVP envelope with its card tucked underneath on the very top, so the invitation is the first thing a guest sees and the RSVP is the last thing they set down.
How Do You Hold Wedding Invitations Together?
A belly band fastened with a clear sticker or small glue dot, or a length of ribbon tied loosely and secured the same way, holds a stack together without adding the bulk that a thick bow or heavy tape would.
Do I Need an Inner Envelope for My Wedding Invitations?
An inner envelope is optional and mostly reserved for formal or traditional suites. If you skip it, insert your stacked suite directly into the outer envelope with the printed side facing the flap, following the same inner and outer envelope conventions for addressing either way.